
Use the jump to recipe button below to skip directly to the recipe card, or keep scrolling for a more detailed walk-through of this recipe including my tips and tricks.
This post may contain affiliate links. See our disclosure policy here.

If you’ve ever made homemade cheese like ricotta or cream cheese, or even homemade yogurt or labneh, you’ve inevitably been left with a lot of whey as a result of the curdling process. So much whey you probably didn’t know what to do with it. Sure, you can add it to bread or other dough recipes instead of water, but this will only allow you to use up small amounts of that whey at once. Then, you’re left with two choices: discard it, or freeze it and end up with a huge stockpile of leftover whey.
If what I just described is a problem you’ve faced, this recipe is for you. This deliciously rich, sweet and slightly tangy caramel is made using leftover whey from your favorite homemade cheese or yogurt recipes. And the best part is, it uses a lot of whey at once. Like, a whole liter. You’ll never have to worry about wasting whey again. This caramel lasts about a month in the fridge when stored in an airtight container, and it’s perfect for desserts, coffee or even just for eating by the spoonful.
Table of Contents
- Quick Recipe Overview and Top Tips For Success
- Equipment You’ll Need for This Recipe
- Ingredients You’ll Need for This Recipe
- How to Make Whey Caramel
- Substitution Ideas and Variations
- Recipe FAQs
- More Dessert Recipes You Might Like
- Recipe Card
- Let me know what you think – leave a comment/review
- Follow me on Social Media
Quick Recipe Overview and Top Tips For Success
Tips for the best whey caramel:
- DO NOT stir the mixture while it’s caramelizing: this is super important. If you stir the caramel before it finishes thickening, it could become grainy. See the detailed recipe below for an in-depth explanation.
- Don’t rush the process: the whey needs to simmer over low heat so it can reduce without burning. This part of the recipe can be very hands off though, because you don’t need to watch it the whole time. Then, once you’ve added the sugar, the caramel needs time to thicken and darken. Again, this part of the recipe is very hands off.
Flavors: This caramel is thick, sweet and rich like a classic caramel, but has a very slightly tangy flavor from the whey.
Difficulty: No special equipment is needed for this recipe, but it does require working with hot liquids and caramelization, so I rate the difficulty as medium.
Time: A little patience is required for this recipe because reducing the whey and the caramelizing the sugar are both processes that are done slowly over low heat. It takes about 2 hours from start to finish, but most of that is very hands off.
Equipment You’ll Need for This Recipe
Here’s a quick list of necessary or helpful tools you’ll need for this Whey Caramel:
- Medium saucepan: this recipe starts with a full liter of whey, so you need a saucepan that fits 4 cups of liquid.
- Whisk: to mix in the sugar and butter.
- Silicone spatula: to make sure you get every last bit of caramel from the sides of the saucepan.
Ingredients You’ll Need for This Recipe
Here’s everything you’ll need to make this rich and tangy Whey Caramel:
- Leftover whey: the nutrient-rich byproduct that results from making cheese or yogurt.
- Granulated sugar: to sweeten the caramel. Light or dark brown sugar can also be used for a darker, richer caramel.
- Unsalted butter: to add richness and creaminess to the caramel; salted butter works too (just skip the pinch of salt).
- Vanilla extract: to add depth of flavor to the caramel.
- Salt: to balance out the sweet flavors.
How to Make Whey Caramel
All you need to make homemade Whey Caramel is a few basic ingredients and tools, and a little patience. From start to finish, it’s going to take about 2 hours to go from 4 cups of liquid whey to 1 ¼ cups of caramel. But don’t worry, most of this process is very hands off. In fact, most of the process needs to be hands off because stirring the sugar as it caramelizes can result in grainy caramel instead of a smooth, silky final product.
This is a fantastic low waste recipe that gives you a delicious and creative way to use up large quantities of an ingredient you might typically throw out. It’s only a few simple steps, and you end up with a slightly tangy, rich and sweet caramel sauce you can use for desserts, baking recipes, coffees or just for eating by the spoonful. Because of its high sugar content, it lasts a month in the fridge when stored in an airtight container.
Here’s how to make homemade Whey Caramel:
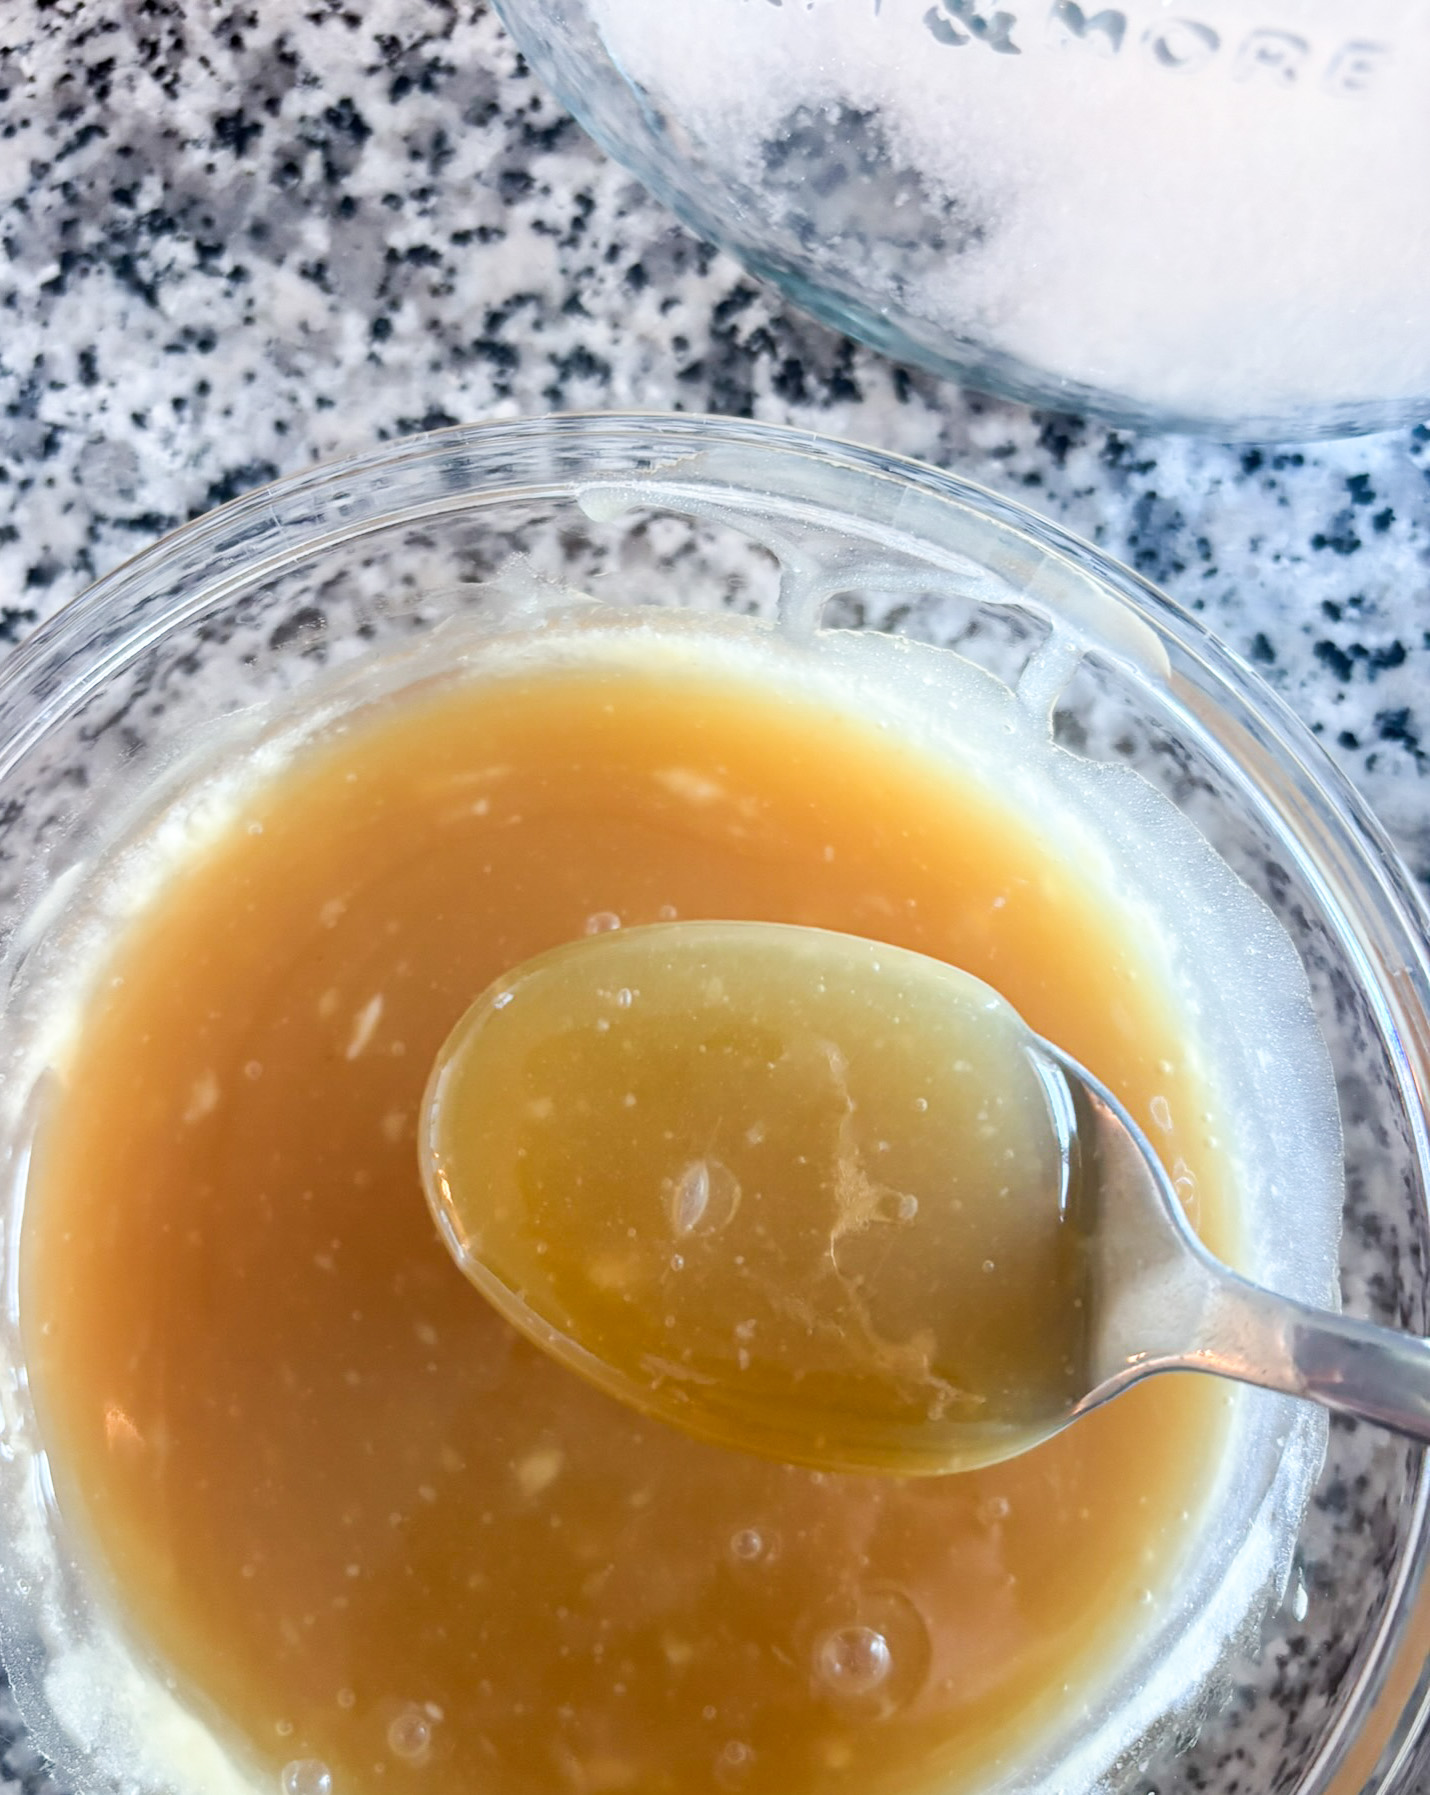
Reduce the Whey
The first step is to reduce the whey by half. You’ll start with 4 cups of whey, and by the time it finishes reducing, you’ll have around 2 cups left. To do this, simply add the whey to a medium saucepan and place it over low heat. Then, bring it to a simmer and leave it simmering until half the liquid in the saucepan has evaporated. This will take about an hour. As long as you place it over low heat, you don’t need to stir it. Just keep an eye on it here and there and ensure the heat is set to low so it doesn’t burn.
An important note: some recipes that result in leftover whey will yield less whey than others (for example, ricotta will yield a lot more leftover whey than labneh). If you don’t have 4 cups of whey on hand, you can either reduce the recipe using the Recipe Card below, or you can freeze your whey until you have enough.
Caramelize the Sugar
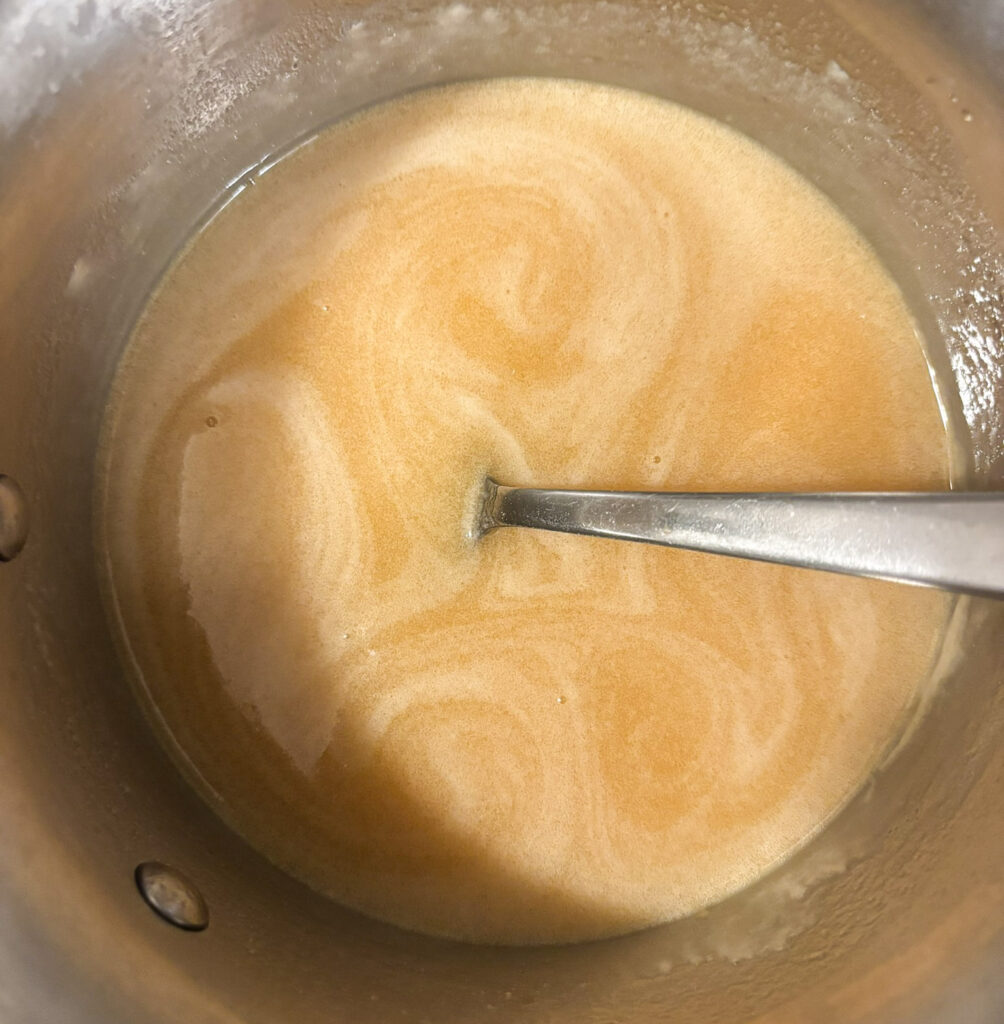
Once you’re left with about 2 cups of liquid in the saucepan, add the sugar. You can use granulated sugar or brown sugar for a richer taste. I use 1 ½ cups of sugar because I enjoy the slightly tangy flavor of the caramel, but you can use 2 cups if you prefer a more classic caramel taste (it will still have a very slight tang to it because of the whey).
Whisk in the sugar until it fully dissolves. Once the sugar has dissolved, slightly increase the heat. Not too much, or it will burn. You want the heat set not quite to medium, but not at the lowest setting for your stove either. Bring the sugar and whey mixture to a gentle simmer (small bubbles) then leave it alone.
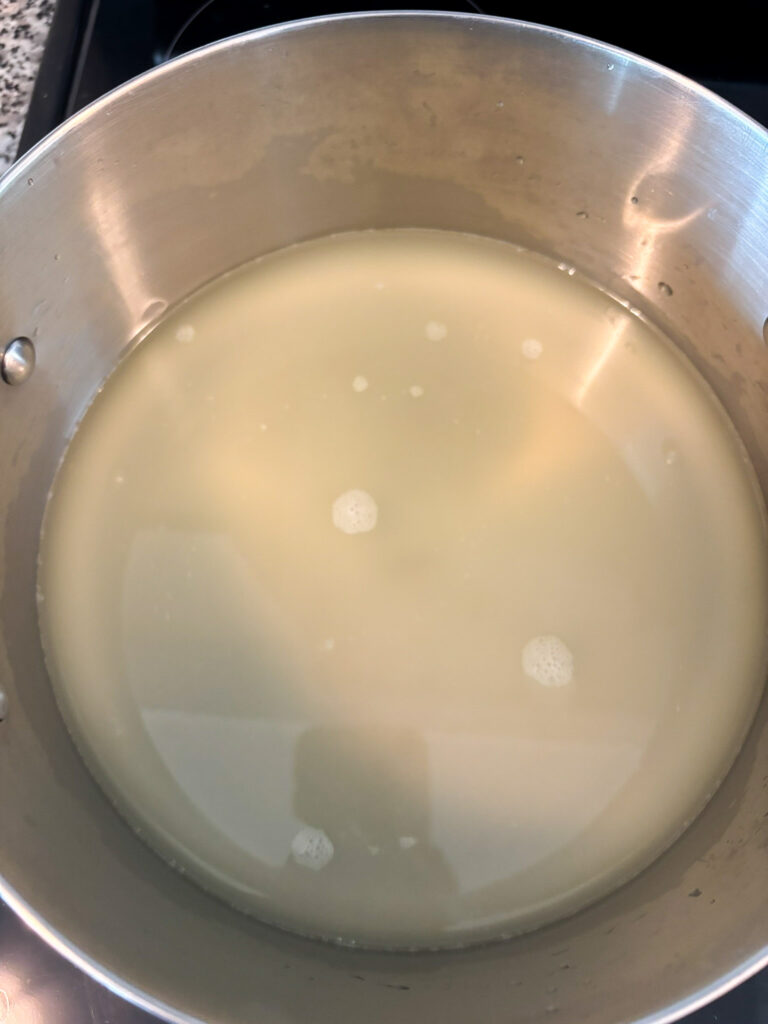
At this point, it’s crucial not to stir the caramel again until the sugar has fully caramelized. Stirring now will often cause the sugar to crystallize. This will result in grainy caramel instead of a smooth, silky consistency. Just leave it over low heat and check on it here and there. Don’t be tempted to increase the heat or it could burn. Be patient and trust the process.
After about an hour, the sugar will have darkened to a golden amber color and the mixture will have thickened slightly. You’ll know when it has reached this stage because the caramel will start to bubble and foam a little. Scrape the sides of the saucepan clean to ensure any sugar that sticks to the side during the reduction process gets mixed in.
Add the Butter, Vanilla and Salt
Once the caramel mixture is a golden amber color and has thickened slightly, stir in the ¼ cup of butter. Just cut it into a few cubes right out of the fridge and add it to the saucepan, then stir gently until it melts. You can use either unsalted or salted butter here. Typically, I add a pinch of salt at the end to finish off the caramel and balance out the sweet flavors, so you can skip or reduce the salt if you’re using salted butter. It won’t make much of a difference, so just use whatever you have on hand. You can always add a little more salt to taste later.
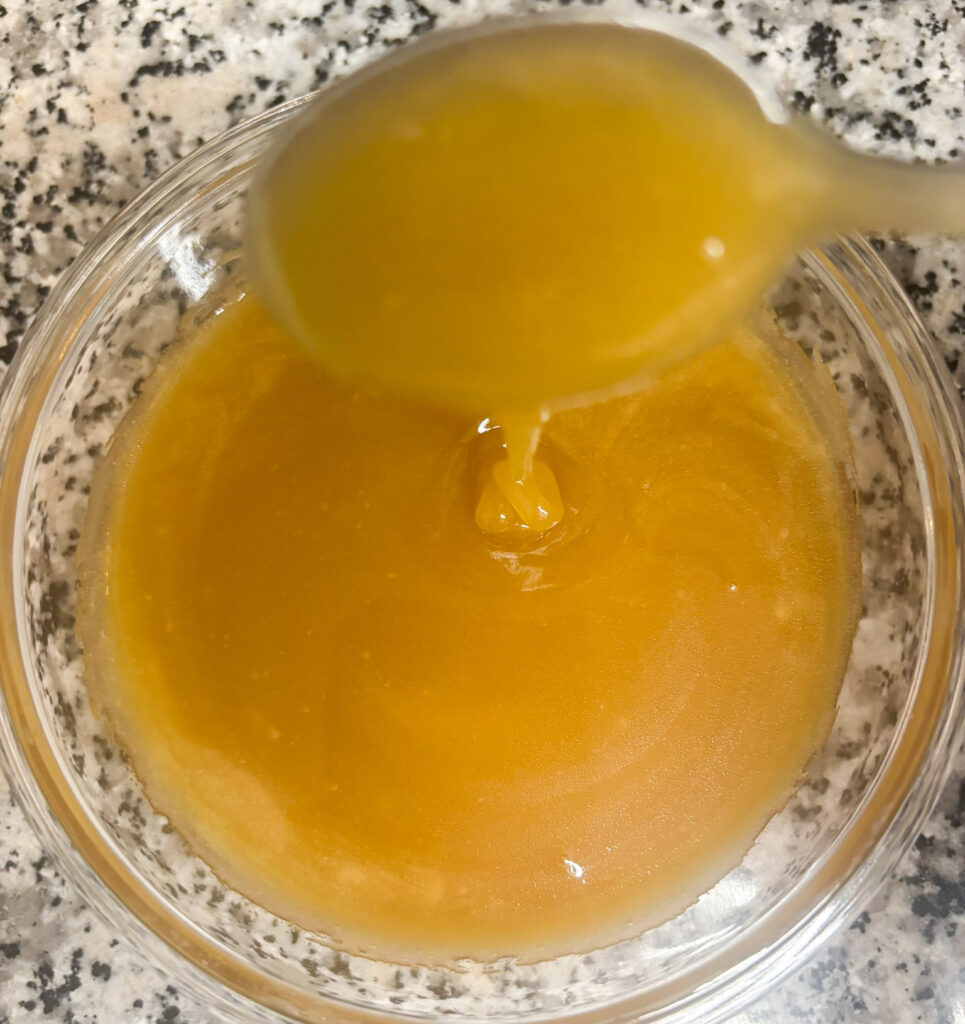
When the butter is melted and the mixture is combined, remove the saucepan from the heat. Next, stir in the 1 ½ teaspoons of vanilla extract. Spoon a little bit of the caramel so you can give it a taste at this point before adding more vanilla or salt. Be careful, because it’s very hot. Set the spoon aside for about 2-3 minutes until it has cooled enough to taste. Taste the caramel, then add more vanilla or salt until the flavor is to your liking.
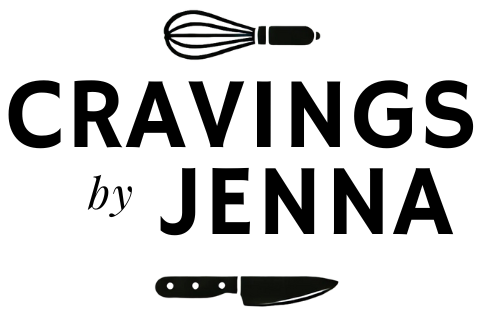
At this stage, the caramel will be a golden amber color and be slightly thicker than the liquid whey you started with. This is the consistency you want, because it will thicken as it cools.
Transfer, Cool and Store the Caramel
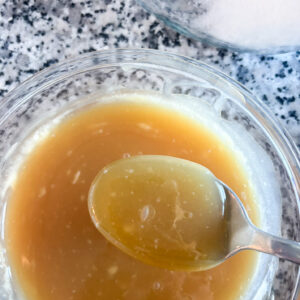
Now it’s time to carefully transfer your caramel to a heatproof container. It will still be very hot, so pour very carefully and use a silicone spatula to scrape the saucepan clean. Leave the container uncovered and let it cool completely (about 30 minutes). It will continue to thicken as it cools and the final product will be the thick, syrupy consistency of a classic caramel.
Store the caramel in an airtight container in the fridge. Because of its high sugar content, it will be good in the fridge for up to a month. 4 cups of liquid whey will make approximately 1 ¼ cups of caramel. You can absolutely make a double batch of this if you have more whey on hand. You’ll just need a bigger saucepan. Alternatively, you can reduce the recipe if you have less whey on hand.
Use your Whey Caramel for desserts, for baking recipes that call for caramel sauce, for hot or iced coffees and lattes, or just eat it by the spoonful. It’s fantastic drizzled over ice cream, with fruit or on its own.
Substitution Ideas and Variations
Substitutions
If you don’t have some of the ingredients for this recipe on hand or just don’t like them, here are a few substitution ideas. All substitutions are in equal quantities, or a 1:1 ratio, unless specified:
- Granulated sugar: light or dark brown sugar, or coconut sugar.
- Butter: in a pinch, you can use coconut oil instead of butter. However, the flavor and consistency will change slightly.
- Vanilla extract: the vanilla in this recipe adds great flavor, but it’s technically optional. If you don’t have it on hand, you can omit it. You can also add other extracts like maple or almond for a different flavor.
- Salt: like the vanilla, salt is optional for this recipe and adds depth of flavor. You can skip it if you prefer.
Variations
- Make a richer caramel: use light or dark brown sugar for a richer caramel with a slightly molasses-like flavor.
- Use other extracts: use almond, maple or even rum extracts either instead of, or with, vanilla extract to give the caramel a different flavor.
- Add warm spices: add a pinch of cinnamon or nutmeg to give the caramel a warm spiced flavor.
Recipe FAQs
What is liquid whey?
Liquid whey, also known as milk serum, is the byproduct that remains after milk has been curdled and strained. It’s a nutrient-rich, acidic ingredient that can be used in various baking and cooking recipes. When making homemade cheeses such as ricotta, cream cheese or mozzarella, or even homemade yogurt and labneh, the leftover watery liquid that separates from the curdled dairy is whey.
What’s the secret to the best whey caramel?
Don’t stir the sugar while it’s caramelizing, or your caramel may end up with a grainy texture as a result of the sugar crystallizing. This is a very hands off recipe, so just let it do its thing and trust the process.
Do I need to use liquid whey from this recipe?
This is a whey caramel, so liquid whey is essential to this recipe. It’s different from a classic caramel, which is typically made with sugar and butter or cream.
Can I substitute any of the ingredients in this recipe?
Definitely! You can use different types of sugars or extracts in this recipe to make different variations of this delicious caramel.
For more suggestions, check the Substitutions section above.
Can I add other ingredients to this recipe?
Add warm spices or other extracts to this recipe to play around with flavors and create unique combinations.
For more suggestions, check the Variations section above.
Can I freeze whey caramel?
Absolutely. You can store your whey caramel in the freezer in an airtight container for up to a year. Just thaw when ready to use. If the texture changes slightly, just heat it up a little in the microwave or on the stove.
How do I store whey caramel?
After letting the caramel cool completely, store it in the fridge in an airtight container and use within 1 month.
More Dessert Recipes You Might Like
If you loved this Whey Caramel, here are some more dessert recipes and homemade spreads you might want to try:
- Glazed Chocolate Maraschino Cherry Cake
- Homemade Apple Butter
- Apple Butter Bars with Browned Butter
- Orange Ricotta Cookies
Recipe Card
Whey Caramel (Easy Low Waste Recipe for Leftover Whey)
Equipment
- 1 whisk
Ingredients
- 4 cups leftover whey (see Note 1)
- 1 ½-2 cups granulated sugar (see Note 2)
- ¼ cup cold unsalted butter (salted butter works too, just skip the pinch of salt)
- 1 ½ tsp vanilla extract
- Pinch of salt, to taste
Instructions
- In a medium saucepan, simmer the whey over low heat until reduced by about half; make sure the heat is low so it doesn’t burn (this should take about an hour – just leave it over low heat and you don’t need to stir it or watch it constantly)
- Once it’s reduced, add the sugar and whisk until dissolved then slightly increase the heat and bring to a gentle simmer
- Allow to simmer over low heat until caramelized – DO NOT stir it again while it’s caramelizing as it could crystallize, just leave it over low heat so it doesn’t burn (you’ll know when it’s almost done because it will bubble and foam slightly)
- After about an hour and when the mixture is a golden amber color and has thickened slightly, stir in the cold butter until melted
- Remove from heat and stir in the salt and vanilla
- Transfer to a glass or other heatproof container and allow to cool (it will continue to thicken as it cools)
- Store in the fridge and use within one month. Use it for desserts, with ice cream, on toast or just on its own
Notes
Let me know what you think – leave a comment/review
If you made this recipe, I’d love to hear from you! Please consider leaving a review or comment below. Any feedback is appreciated.
Follow me on Social Media
For more recipes, or to see all my recipe videos, follow me on Instagram, Facebook, TikTok and Youtube.
I had 3 cups of yogurt whey i was trying to use up. After adjusting the recipe accordingly, it turned out great! Thanks for the additional notes, they helped immensely.
Thank you so much for the feedback! I’m so happy to hear you liked it.