Use the jump to recipe button below to skip directly to the recipe card, or keep scrolling for a more detailed walk-through of this recipe including my tips and tricks.
This post may contain affiliate links. See our disclosure policy here.
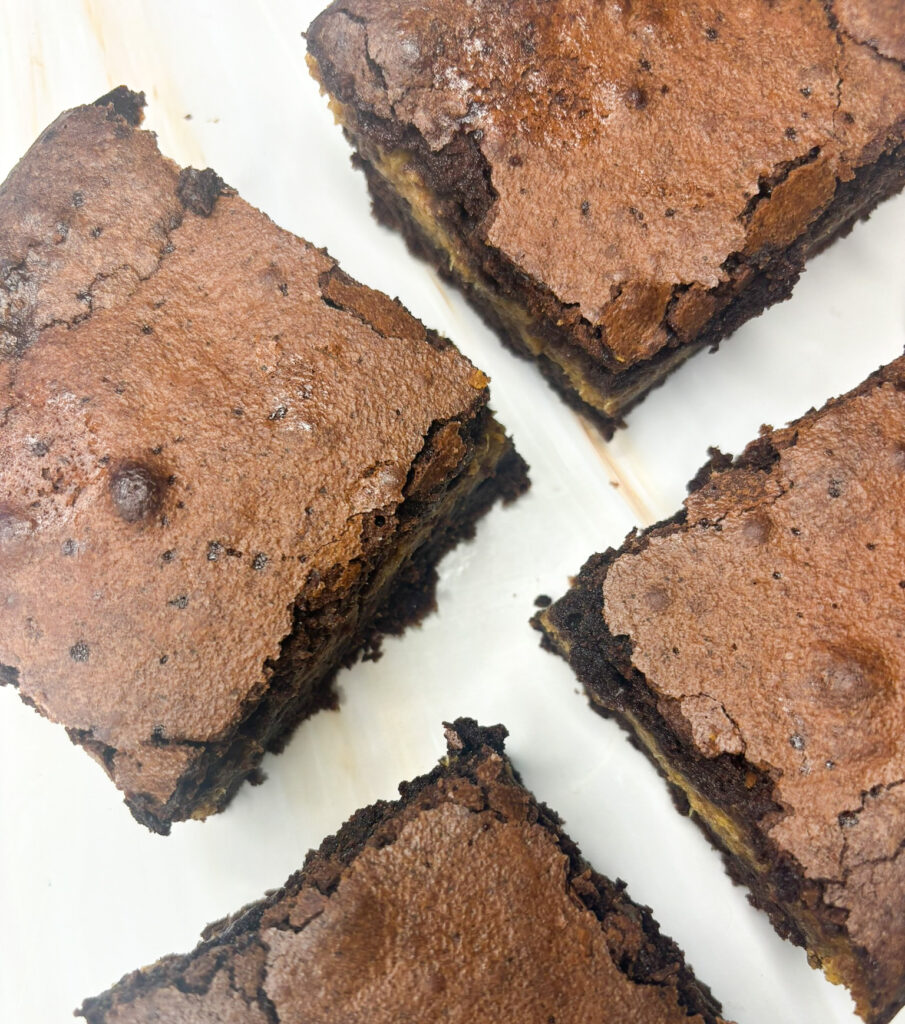
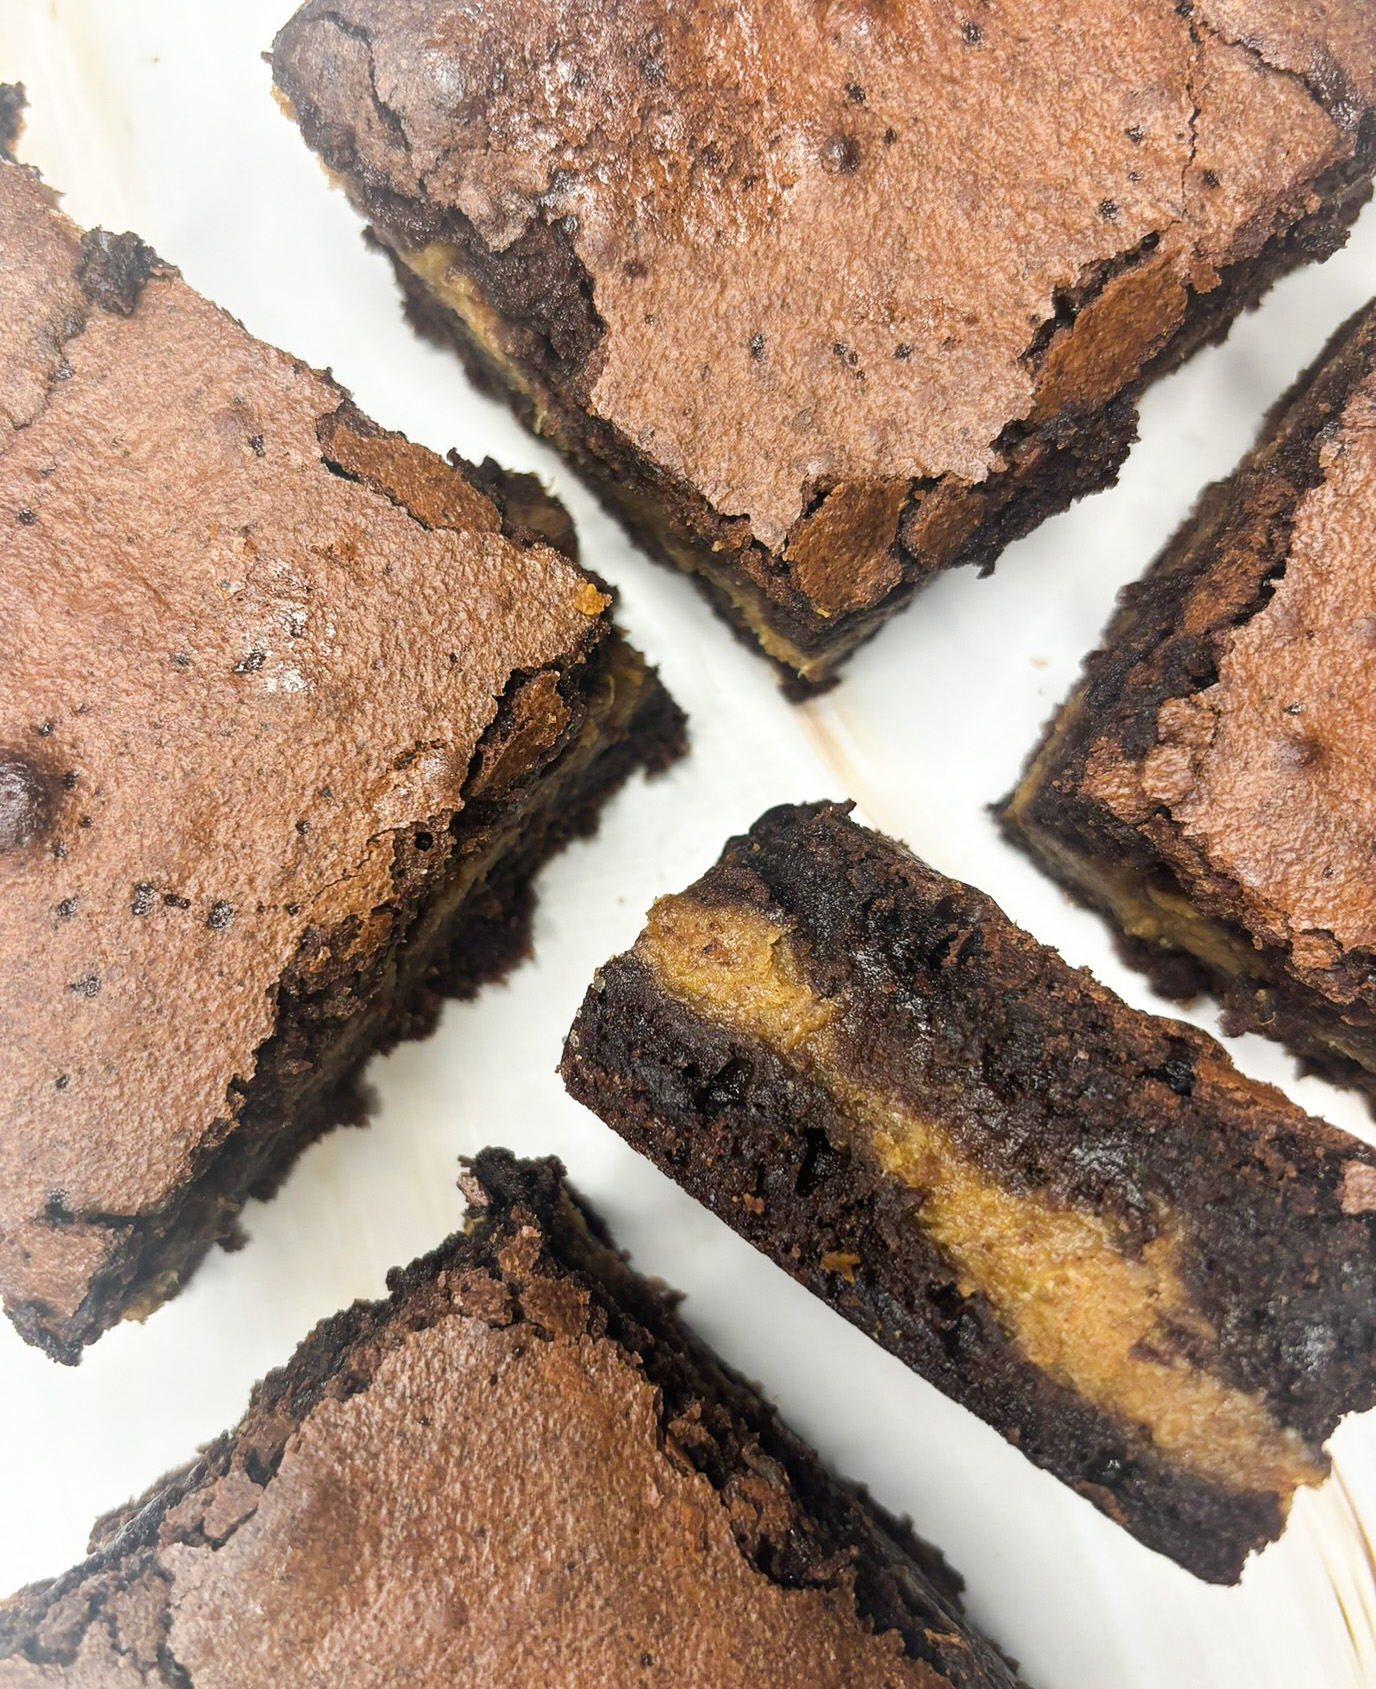
When I first came up with the idea for these layered brownies I wasn’t sure how well the two flavors would complement each other. Turns out the answer is extremely well.
I had homemade pumpkin puree on hand from a late fall batch I made, and I was craving a dessert with pumpkin in it, but not TOO much pumpkin, you know?
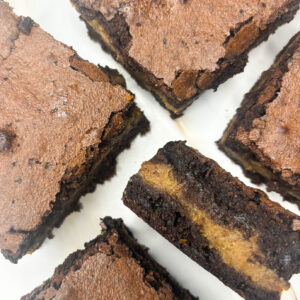
So I decided to combine pumpkin and chocolate, which is what led to these. Two layers of rich, fudgy brownie with a pumpkin spiced cheesecake layer in between. So, so good.
And if you just don’t like pumpkin desserts, this is still a really, really good brownie recipe that can be made on its own.
Table of Contents
- Quick Recipe Overview and Top Tips For Success
- Equipment You’ll Need for This Recipe
- Ingredients You’ll Need for This Recipe
- How to Make Layered Pumpkin Spice Cheesecake Brownies
- Substitution Ideas and Variations
- Recipe FAQs
- More Dessert Recipes You Might Like
- Recipe Card
- Let me know what you think – leave a comment/rating
- Follow me on Social Media
Quick Recipe Overview and Top Tips For Success
Tips for the best brownies:
- Dust your baking dish with granulated sugar instead of flour. This step is optional, but I highly recommend it
- Make sure your batters are a spreadable consistency before pouring; tips on this are included in the recipe below
Flavors: These bars are an amazing combination of the warm flavors of pumpkin spice and the rich flavors of chocolate.
Difficulty: No special equipment is needed for these brownies, and you’re pretty much just mixing everything in two bowls which makes this is an easy recipe.
Time: Both batters come together quickly, so the recipe doesn’t take long to assemble. The effort level is low, but you do need a little patience when it comes to letting the brownies rest. I know, I don’t like it either.
Equipment You’ll Need for This Recipe
Here’s a quick list of necessary or helpful tools you’ll need for these Layered Pumpkin Spice Cheesecake Brownies:
- 9×9 inch square baking dish: to make sure you get distinct layers of both brownie and cheesecake without them getting mixed together, a 9×9 inch square baking dish is the best size for this recipe.
- Mixing bowls: you’ll need two mixing bowls for this recipe; one for the brownie batter, and one for the cheesecake layer.
- Whisk: the batters for this recipe are easy to mix by hand, so all you need is a whisk. If you have a hand mixer, you can definitely use it, but it’s not necessary.
- Silicone spatula: to make sure you get every last bit of batter from the bowls and to spread the batters evenly.
Ingredients You’ll Need for This Recipe
Here’s everything you’ll need to make both the cheesecake layer and the brownie layer for these Layered Pumpkin Spice Cheesecake Brownies:
For the Pumpkin Cheesecake Layer:
- Pumpkin puree: find my recipe for easy Homemade Pumpkin Puree here. You can also use canned pumpkin puree; just make sure you use pure pumpkin puree, not pumpkin pie filling. Otherwise, the added spices may cause the cheesecake batter to be overpowering.
- Cream cheese: I use 1 cup of my homemade cream cheese for this recipe, but an 8oz block of cream cheese is great.
- All purpose flour: to help stabilize the cheesecake layer.
- Granulated sugar: both layers of this recipe use granulated sugar. You’ll also need an extra tablespoon for dusting the pan.
- Pumpkin pie spice: for the classic pumpkin pie flavor.
- Vanilla extract
For the Brownie Layer:
- All purpose flour
- Salt: to help balance out the sweet flavors
- Unsweetened cocoa powder
- Espresso powder or instant coffee: a little coffee adds depth and richness and enhances the chocolate flavor, but it’s totally optional. Just omit if you prefer not to use it.
- Unsalted butter
- Semi-sweet or milk chocolate chips: semi-sweet chocolate chips will yield slightly less sweet brownies, but both options work great.
- Granulated sugar
- Vanilla extract
- Large eggs
How to Make Layered Pumpkin Spice Cheesecake Brownies
The long title might make it seem like there are a lot of steps to this recipe, but both batters come together really easily and are thick enough to make layering simple.
To start, get all your ingredients together then preheat your oven to 350℉/180℃. Grease your 9×9 inch square baking dish with butter or neutral oil, then sprinkle it with all over with sugar. This is the BEST trick for brownies because the sugar turns the edges all crunchy and sweet. You can use flour or cocoa powder to dust the baking dish or just use parchment paper, but don’t skip this step. Normally, when it comes to brownies I go for a middle piece with one side, but this trick really makes me reconsider my stance on the corners.
Here’s how to make these Layered Pumpkin Spice Cheesecake Brownies:
Make the Pumpkin Cheesecake Layer
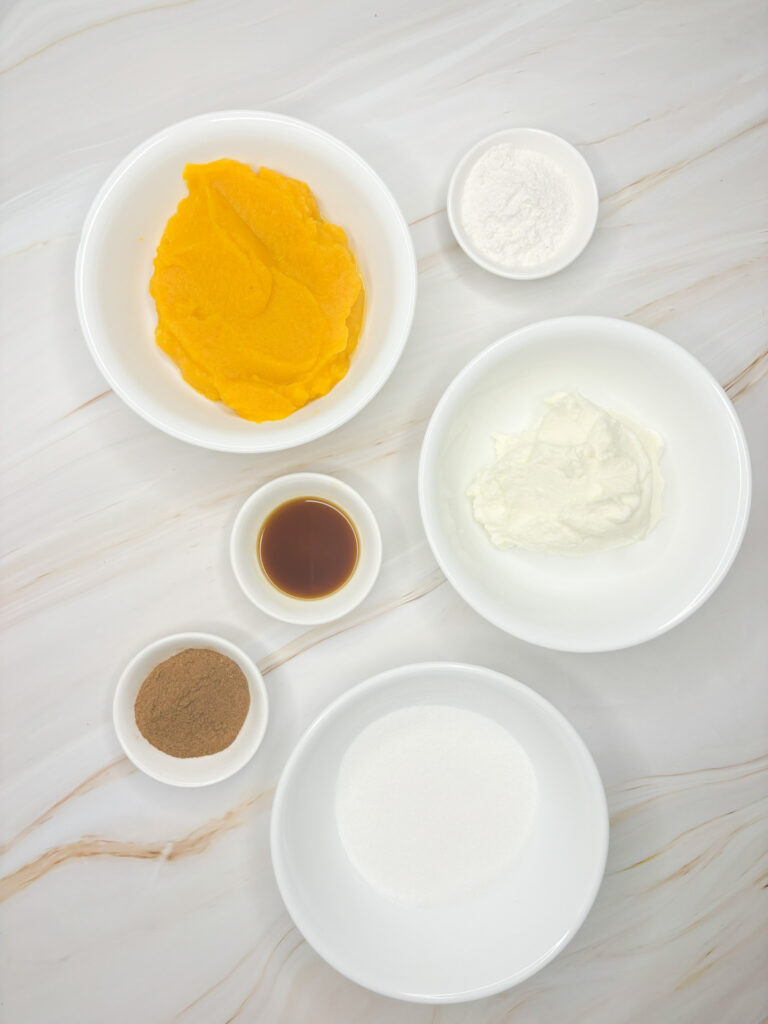
The first step is making your pumpkin cheesecake layer. I used my homemade cream cheese and pumpkin puree, but an 8 oz brick of cream cheese and about half a can of pumpkin puree are perfect for this recipe. Just make sure it’s pure pumpkin puree, not pumpkin pie filling. If you use that, then add pumpkin pie spice according to the recipe directions, I’m pretty sure it’s going to taste so much like pumpkin you wouldn’t believe there’s chocolate in the recipe even if you’re the one who made it.
The cheesecake layer is probably the easiest part. And the whole recipe is already pretty easy. Start by adding your cream cheese and your pumpkin puree to a medium bowl. Make sure it’s well softened so you don’t have little lumps. Using a whisk or a hand mixer, beat until combined. I just mixed it by hand, there’s no need for any fancy equipment with this one. Then add in your flour, sugar, pumpkin pie spice and vanilla extract and mix until it’s smooth again. Really, you can just throw all the ingredients for this layer into the bowl at once and blend, but I prefer to do the cream cheese and pumpkin first to make sure it’s completely smooth.
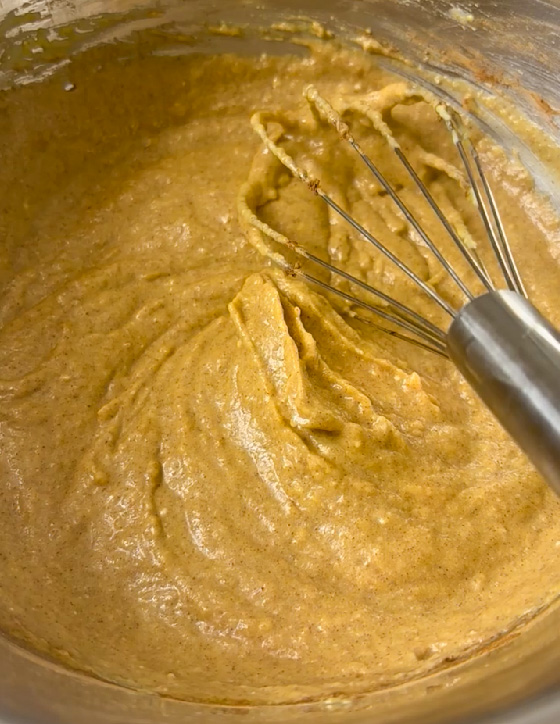
Set this mixture aside for now. If you feel like it’s a little bit too runny and you think you might have trouble when it comes to adding the second brownie layer and spreading everything smooth, put it in the fridge for 5-10 minutes or so while you make the brownie. I wouldn’t worry about it, though, because the cream cheese and pumpkin stay quite thick when mixed together.
Make the Brownie Layer
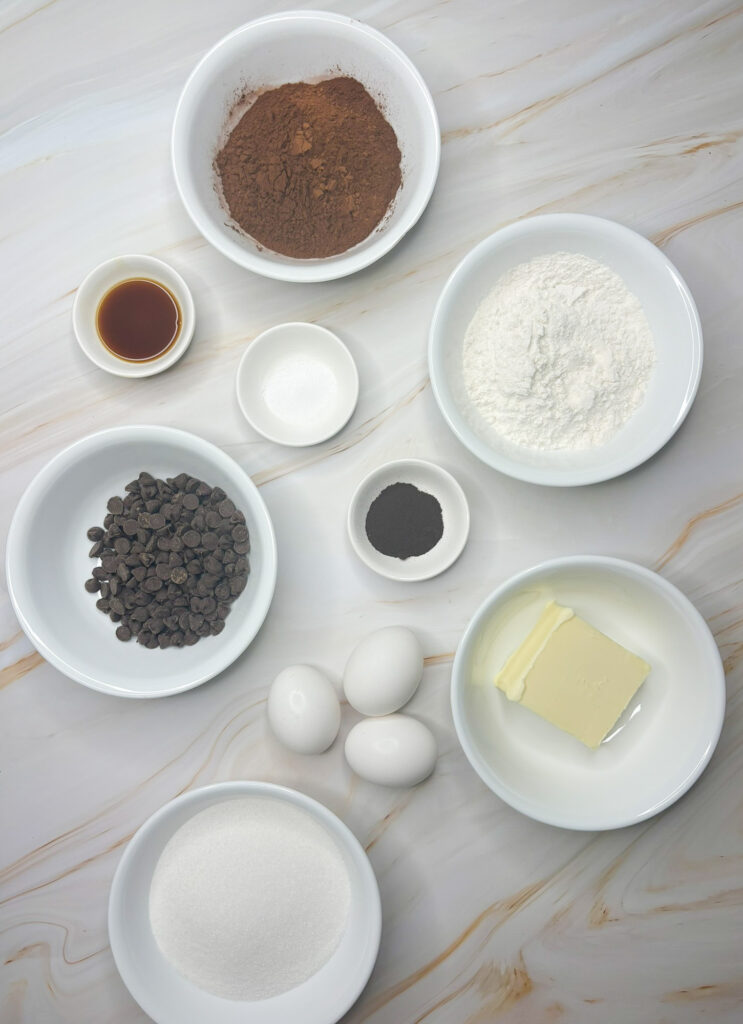
For the brownie layer, combine your flour, salt, cocoa powder and espresso powder in one medium bowl. Whisk those together then set that aside for now. The espresso powder (or instant coffee) is optional here. It adds richness and depth of flavor to the brownie because it helps bring out the chocolate flavors. Combine the butter and the chocolate chips in a microwave safe bowl and melt that together. You’re going to want to do this in bursts of 15 seconds, stirring twice.
As soon as the mixture starts to melt, stir once and continue microwaving in short bursts until both the butter and chocolate are melted. Stir it again until combined. It should be silky smooth but if not, just microwave it for another 10 seconds and mix again. You can also melt them in two separate bowls, but it’s easier to burn the chocolate that way. Plus this way you don’t have to use an extra bowl or transfer either the chocolate or butter when they’re hot, so I prefer to do it in one bowl.
Combine your sugar, vanilla extract and eggs in another large mixing bowl and pour in your slightly cooled melted butter and chocolate mixture. Whisk all that together until it’s smooth. It’s best if your eggs are room temperature. That way, there’s no risk of them starting to cook when they’re mixed with the warm chocolate. If you forgot to take the eggs out in advance, don’t worry; either just leave them in warm (not hot) water for 5 minutes, or make sure your chocolate mixture is well cooled.
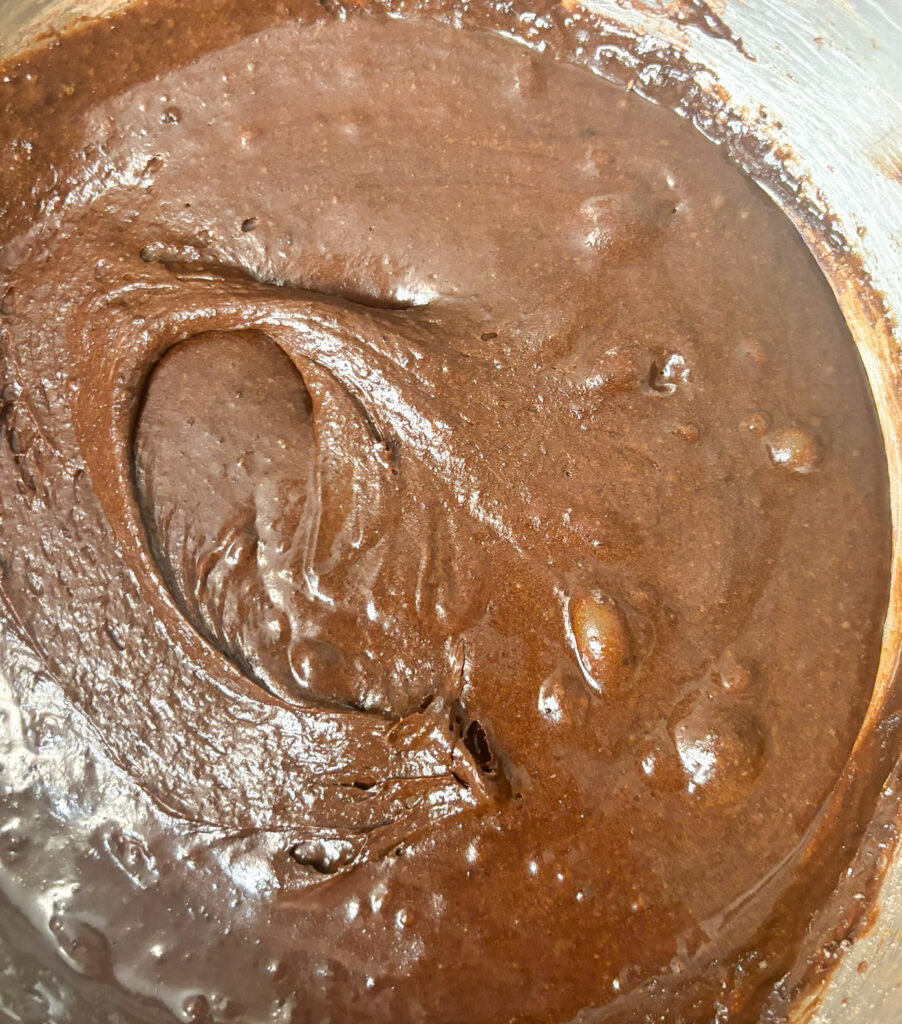
Add your dry ingredients to the bowl with your wet ingredients then mix using a spatula until just combined. Stop mixing as soon as it’s well combined and you can’t see any more flour.
Assemble the Brownies
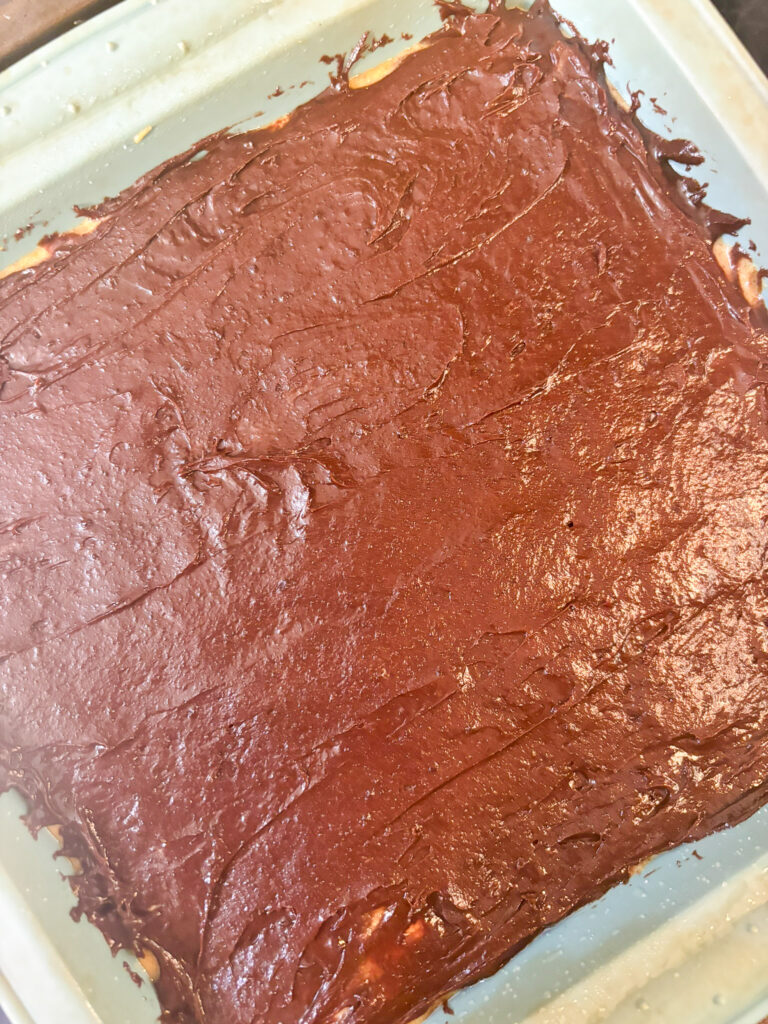
Now it’s time to layer. This is the only part of the recipe that could be a bit tricky, but both batters should be thick enough that it’s super easy to do. If you feel like either of your batters are too runny and will mix together instead of spreading smoothly, refrigerate the cheesecake batter for 10-15 minutes and let the brownie batter stand for the same amount of time. Both will thicken and be easier to spread, but I found both batters really easy to spread without having to let either stand for any extra time.
Start by pouring half the brownie batter into the prepared baking dish. Spread it out with the spatula until it’s even. Make sure to get the corners. Then, add your pumpkin cheesecake batter on top and spread that evenly. To make spreading the rest of the brownie batter easier, add the second half in large dollops all over the cheesecake batter. Spread it evenly, making sure to cover the corners and pumpkin layer.
Bake the Brownies
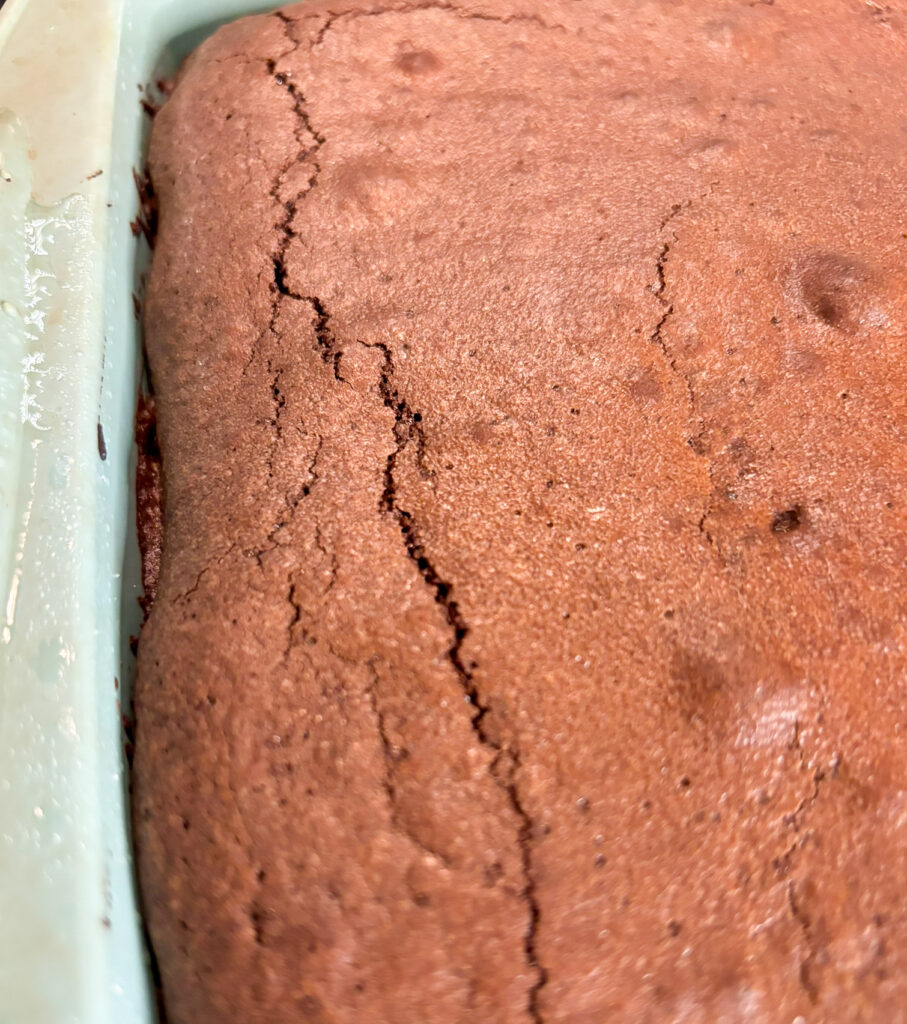
Bake these at 350℉/180℃ for 40-45 minutes. You may even need to bake them for 50 minutes depending on your oven and the type of dish you use (if you’re using a silicone baking dish, use a metal baking sheet underneath). Check on them after 40 minutes by sticking a toothpick in the middle. If it comes out clean or with a few crumbs remaining on it, take them out of the oven. If they’re not quite done, return them to the oven and check them every 5 minutes.
Once they’re done, they need to cool completely before you cut into them. This is more of a suggestion than a rule though. If they have a chance to cool, the layers stay nice and separated and the cheesecake has a chance to fully set. But if you don’t care about messing up the layers a little bit to enjoy this right out of the oven, cut into it as soon as it’s cool enough to handle. It won’t be as pretty, but they’ll still be delicious.
Substitution Ideas and Variations
Substitutions
If you don’t have some of the ingredients for this recipe on hand or just don’t like them, here are a few substitution ideas. All substitutions are in equal quantities, or a 1:1 ratio, unless specified:
For the Pumpkin Cheesecake Layer:
- All purpose flour: use gluten free flour if needed. Some gluten free flours can dry out baked goods. If your brownie batter is too thick or feels dry (see photos or video), add an extra egg.
- Granulated sugar: brown sugar or coconut sugar.
- Pumpkin pie spice: use some or all of the following spices: 2 ¼ tsp cinnamon, ¼ tsp nutmeg, ¼ tsp ground ginger, ¼ tsp allspice and a tiny pinch of cloves.
For the Brownie Layer:
- Espresso powder or instant coffee: decaf espresso powder or instant coffee.
- Unsalted butter: neutral oil or melted coconut oil.
- Semi-sweet or milk chocolate chips: chocolate chunks or chopped chocolate bars.
- Large eggs: use ¼ cup of unsweetened applesauce for each egg, or a flax egg (mix 1 tbsp of ground flaxseed with 3 tbsp water for each egg).
Variations
- Add some extra crunch: to either layer or both layers, mix in some chopped pecans or walnuts.
- Make it extra chocolatey: stir in extra chocolate chips in the brownie batter.
Recipe FAQs
What’s the secret to the best brownies?
When you grease your baking dish, sprinkle it with granulated sugar instead of flour for the BEST edges and crust. Trust me on this one.
Do I need to include the coffee in this recipe?
Definitely not. It adds depth and richness to the brownie and helps bring out the chocolate flavors, but you can just leave it out altogether or use decaf espresso or instant coffee if you prefer to leave this recipe caffeine-free. There’s no need to replace it with another ingredient because we didn’t include any liquid when adding it to the recipe.
Can I substitute any of the ingredients in this recipe?
If you don’t have pumpkin pie spice, you can use a mixture of ground cinnamon, nutmeg, allspice, ginger and ground cloves. The cinnamon and nutmeg are the essential spices here. If you’re missing one or two of the other spices, it’s not a big deal, just leave it out. Combine 2 ¼ tsp cinnamon with ¼ tsp nutmeg, ¼ tsp ground ginger, ¼ tsp allspice and just a tiny pinch of cloves. This will give you 1 tbsp of your homemade spice blend.
You can use chocolate chunks or baker’s chocolate if you don’t have chocolate chips on hand. I’d recommend switching to the gram (Metric) measurements on the recipe card if you’re using anything other than chocolate chips to make sure you use the right amount. Then just proceed with melting the chocolate according to the recipe directions.
For more suggestions, check the Substitutions section above.
Can I add other ingredients to this recipe?
Feel free to sprinkle more chocolate chips all over the top of the brownie before baking for even more chocolate flavor.
For more suggestions, check the Variations section above.
Can I make these layered brownies gluten free?
To make the brownies gluten free, substitute the all purpose flour for 1:1 gluten free flour. Some gluten free flours can dry out baked goods despite being labeled 1:1. If your brownie batter is too thick or feels dry (see photos or video), add an extra egg.
Can I use a different size of baking dish?
Yes you can. Just make sure it’s not too big otherwise it will be difficult to get nice layers. If you’re baking these brownies in a different size of pan, the cooking time will vary so you’ll have to keep a close eye on them. If the layers are thinner, they’ll cook faster and if the layers are too thick, the edges might burn before the center passes the toothpick test, so a 9×9 inch pan is the best size for this recipe.
Can I freeze these layered brownies?
You can absolutely transfer the brownies to a sealed container after cutting into squares and freeze for up to 3 months for the best texture. If you’re storing them one on top of the other, place a sheet of parchment paper between each row. Let the brownie thaw in the fridge for several hours or overnight when you’re ready to eat it. You could also freeze them before cutting them into squares, but then you’ll have to wait for them to thaw before cutting them into squares and eat them all within 1-2 days. No judgment if that’s what you want to do, but it’s probably easier to freeze them in squares.
How do I store these brownies?
Because of the cheesecake layer, store these brownies in the fridge in a sealed container after cooling and eat within 5 days. I actually love them cold, but you can let them come to room temperature before serving or warm them up for 20-30 seconds.
More Dessert Recipes You Might Like
If you loved these Layered Pumpkin Spice Cheesecake Brownies, here are some more dessert recipes you might want to try:
- Apple Butter Bars with Browned Butter
- Easy Ube Cookies
- Orange Ricotta Cookies
- Glazed Chocolate Maraschino Cherry Cake
Recipe Card
Layered Pumpkin Spice Cheesecake Brownies
Equipment
- 1 9×9 inch square baking dish, silicone, glass or metal
- 1 spatula, silicone or wooden
Ingredients
Pumpkin Cheesecake Layer
- 1 cup pumpkin puree, store-bought or homemade
- 1 cup cream cheese (or one 8 oz block), softened
- 2 tbsp all purpose flour
- ⅓ cup granulated sugar
- 2 tsp pumpkin pie spice
- 1 tsp vanilla extract
Brownie Layer
- ¾ cup all purpose flour
- ½ tsp salt
- ½ cup unsweetened cocoa powder
- 1 ½ tsp espresso powder (or 1 tbsp instant coffee), optional (see Note 1)
- ½ cup unsalted butter (see Note 2)
- ½ cup semi-sweet or milk chocolate chips (see Note 3)
- 1 cup granulated sugar
- 2 tsp vanilla extract
- 3 large eggs, room temperature (see Note 4)
Other
- 1 tbsp granulated sugar, for dusting the baking dish
Instructions
- Gather all your equipment and ingredients and preheat your oven to 350℉/180℃; grease a 9×9 inch square baking dish then sprinkle it with the tablespoon of granulated sugar
- Start by making the cheesecake layer; in a medium bowl, combine the pumpkin puree and cream cheese and beat with a hand mixer or whisk until smooth
- Add the flour, sugar, pumpkin pie spice and vanilla extract and mix again until smooth
- Set aside while you make the brownie layer (the brownie layer will thicken as it sits so making it second helps ensure it stays in place when spreading the second brownie layer)
- Next, make the brownie layer: in a medium bowl, combine the flour, salt, cocoa powder and espresso powder and whisk until combined and no lumps of cocoa powder remain then set aside
- In a heatproof bowl, melt the butter and chocolate together in 15 seconds bursts, stirring once or twice throughout then mix until smooth; set aside to allow to cool slightly
- In a large bowl, combine the sugar, vanilla extract, eggs and chocolate mixture and whisk until smooth
- Add the dry ingredients to the wet ingredients and mix until just combined, but do not overmix (stop mixing as soon as you can no longer see any flour)
- Pour half the brownie batter into the prepared baking dish and spread evenly
- Add the pumpkin cheesecake batter over the brownie layer and spread evenly
- Dollop the remaining brownie batter over the cheesecake layer and spread evenly (both batters should be thick enough that spreading is fairly easy; if not, either chill cheesecake layer for 5-10 minutes or let brownie batter stand)
- Bake for 40-45 minutes or until a toothpick comes out clean with no more than a few crumbs (see Note 5)
- Allow to cool completely before cutting into squares
Notes
Nutrition
Let me know what you think – leave a comment/review
If you made this recipe, I’d love to hear from you! Please consider leaving a review or comment below. Any feedback is appreciated.
Follow me on Social Media
For more recipes, or to see all my recipe videos, follow me on Instagram, Facebook, TikTok and Youtube.
