
This post may contain affiliate links. See our disclosure policy here.
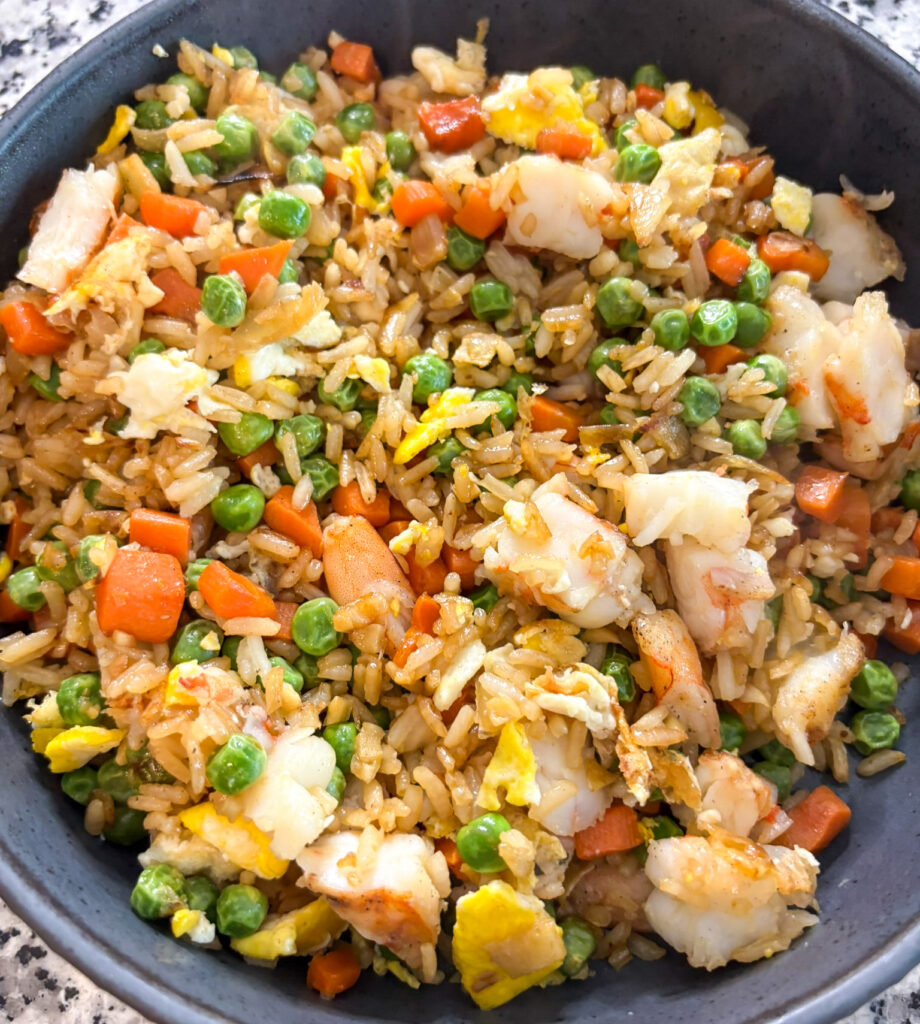
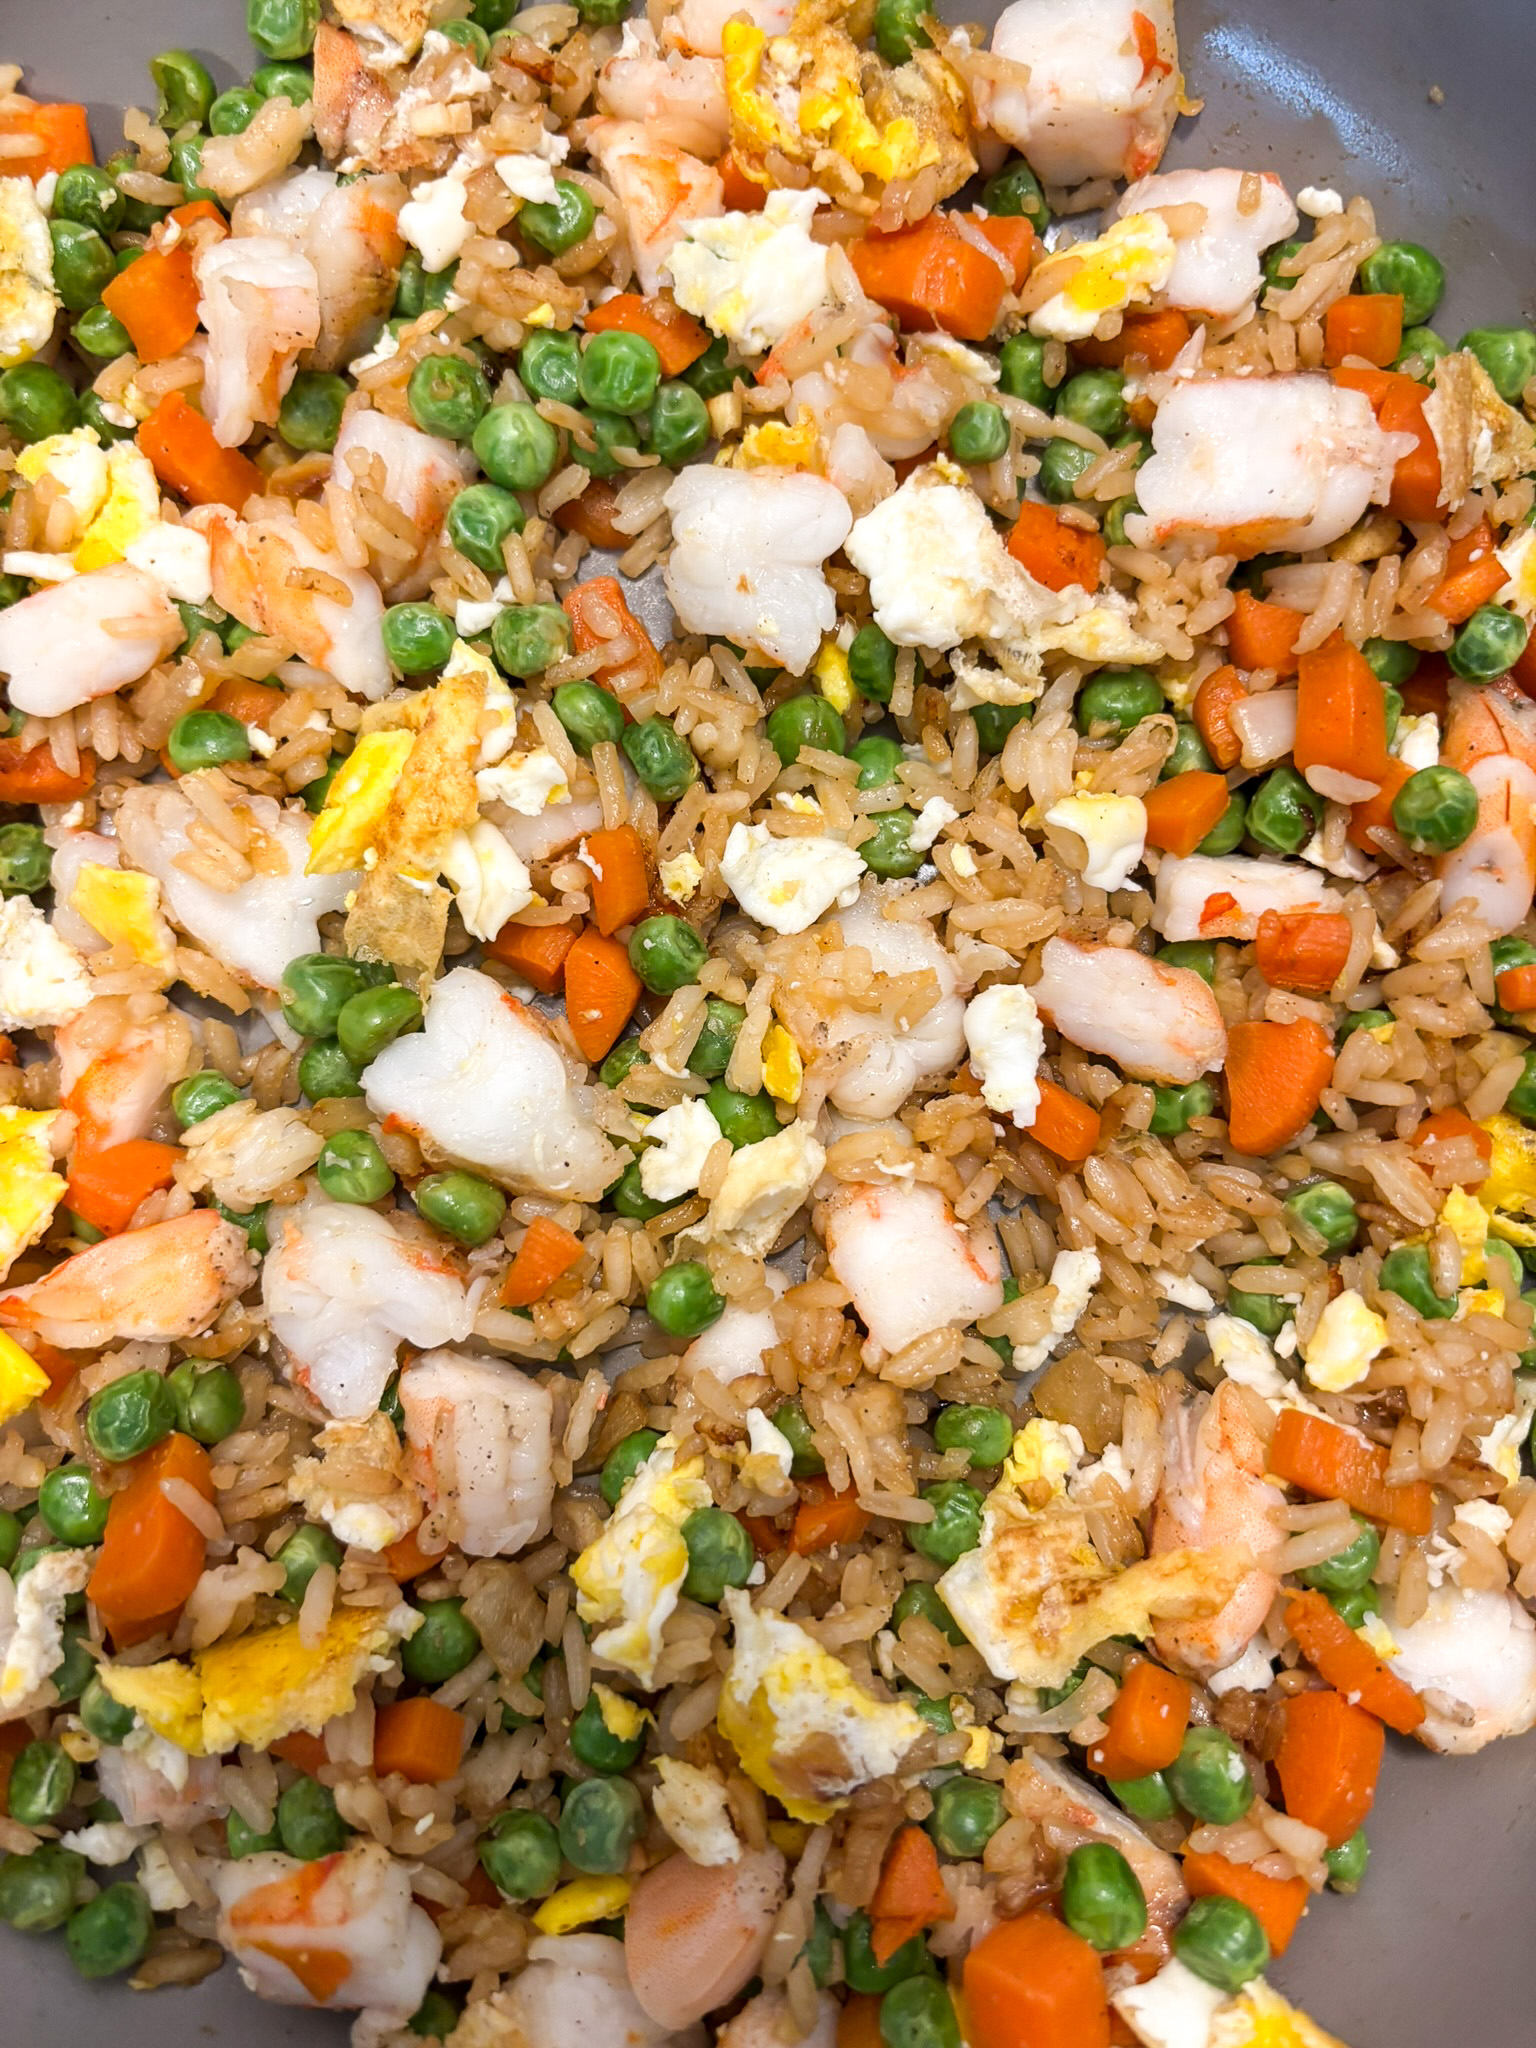
Fried rice is one of my go-to easy dinners. I don’t even order it as takeout anymore because I’ve made it so many times that I’ve gotten the recipe pretty much perfected. Plus, it only takes 30 minutes to make, so it really is quicker to just make it at home. And once you try this version, you might just find yourself making it at home from now on too.
Perfect fried rice comes down to three simple rules, which I’ll explain below: dry rice, light sauce and cooked egg. The ingredient list is simple and minimal, so once you’ve got those three tricks down, you’ll never have soggy, sticky fried rice ever again. That’s a promise.
Here are the three rules:
Rule #1: Use dry rice
Your rice needs to have dried out before you add it to the pan. If your rice has too much moisture remaining, it will clump together into a gloopy mess and you won’t get distinct grains. Use day old refrigerated rice, or make it a few hours in advance and leave it uncovered in the fridge.
I often make fried rice as a quick dinner, and I don’t usually have day old rice sitting in the fridge. In the afternoon, I make a batch of fresh rice in my rice cooker, then I leave it in the fridge without the lid on. By dinner time, it’s good to go.
Rule #2: Don’t add too much sauce
Your sauce needs to be fully absorbed before the finishing steps. Traditionally, the sauce for fried rice is very simply made from soy sauce, white pepper, and a little sesame oil (and optional, but highly recommended, MSG). Some recipes use oyster sauce, but it’s absolutely not necessary.
The sauce is used to coat and season the rice, so it shouldn’t be drowning in it. Use just enough sauce so that your rice is able to fully absorb it. There shouldn’t be any liquid left in the bottom of the pan. Excess sauce will result in a liquidy, saucy texture, and that’s not what you want. Once you pour the sauce over the rice, mix then let it absorb fully before proceeding with the next steps.
Rule #3: Mind the egg
DO NOT mix in the egg too early. Mixing in the egg too early coats the rice with liquid, which causes the grains to steam instead of fry. This results in sticky, soggy rice coated with egg instead of the soft and fluffy distinct grains you want.
For perfect results, move the rice to one side of the pan then crack in the egg. Gently scramble it, then let it cook completely before breaking it up and mixing it into the rice. There’s no need to stir or mix the egg again until it’s fully cooked through. Alternatively, you can cook the egg in the pan right after cooking your protein, then remove it from the pan, set it aside and return it to the pan when you put your cooked protein back in.
And that’s it. Follow these 3 steps, and you’ll never have clumpy fried rice again.
My favorite protein for fried rice is shrimp, but it’s amazing with chicken, beef or even just with veggies and eggs, so use what you like or what you have on hand.
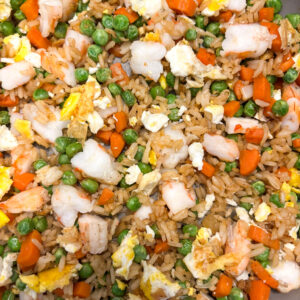
Better than Takeout Fried Rice with Shrimp
Equipment
- 1 bowl or measuring cup
Ingredients
- ½ cup dry white rice, rinsed well
- 300 g shrimp, tails removed (see Note 1)
- ½ tsp salt
- 1 tsp white pepper, divided
- Cooking spray or 1 tbsp avocado oil
- ½ cup yellow onion, diced
- 4-5 cloves garlic, minced
- 1 cup frozen carrots (see Note 2)
- 1 cup frozen peas
- ¼ cup plus 2 tbsp light soy sauce
- ½ tsp MSG
- 2 large eggs
- 2 tsp toasted sesame oil
- Green onions, thinly sliced, to garnish, optional
Instructions
- Cook the rice in a rice cooker or on the stovetop then chill for 2-3 hours or overnight (if you're making it the same day, leave it uncovered in the fridge)
- Pat the shrimp dry then season on both sides with salt and ½ tsp white pepper
- Heat a large sauté pan over medium heat then spray with avocado oil
- Add the shrimp and cook for 2-3 minutes on each side or until pink and cooked through then remove from the pan and set aside (for large shrimp, chop once slightly cooled)
- Spray with a little more avocado oil then add the onion
- Sauté for 4-5 minutes until softened then add the garlic and frozen peas and carrots
- Cook for 2-3 minutes then add the rice and break up any clumps with a spatula
- In a measuring cup or bowl, whisk together the soy sauce, ½ tsp white pepper and the MSG
- Pour the sauce over the rice then mix
- Let cook for 8-10 minutes or until the sauce is FULLY absorbed and no liquid remains in the pan
- Push the rice to the side and add the eggs
- Break up the yolk and gently scramble the eggs, then let them cook without stirring
- Once the egg is fully cooked, break it up with a spatula, then return the shrimp to the pan and toss
- Top with toasted sesame oil and mix then serve
Notes
Nutrition
Let me know what you think – leave a comment/rating
If you made this recipe, I’d love to hear from you! Please consider leaving a review or comment below. Any feedback is appreciated.
Follow me on Social Media
For more recipes, or to see all my recipe videos, follow me on Instagram, Facebook, TikTok and Youtube.