Use the jump to recipe button below to skip directly to the recipe card, or keep scrolling for a more detailed walk-through of this recipe including my tips and tricks.
This post may contain affiliate links. See our disclosure policy here.
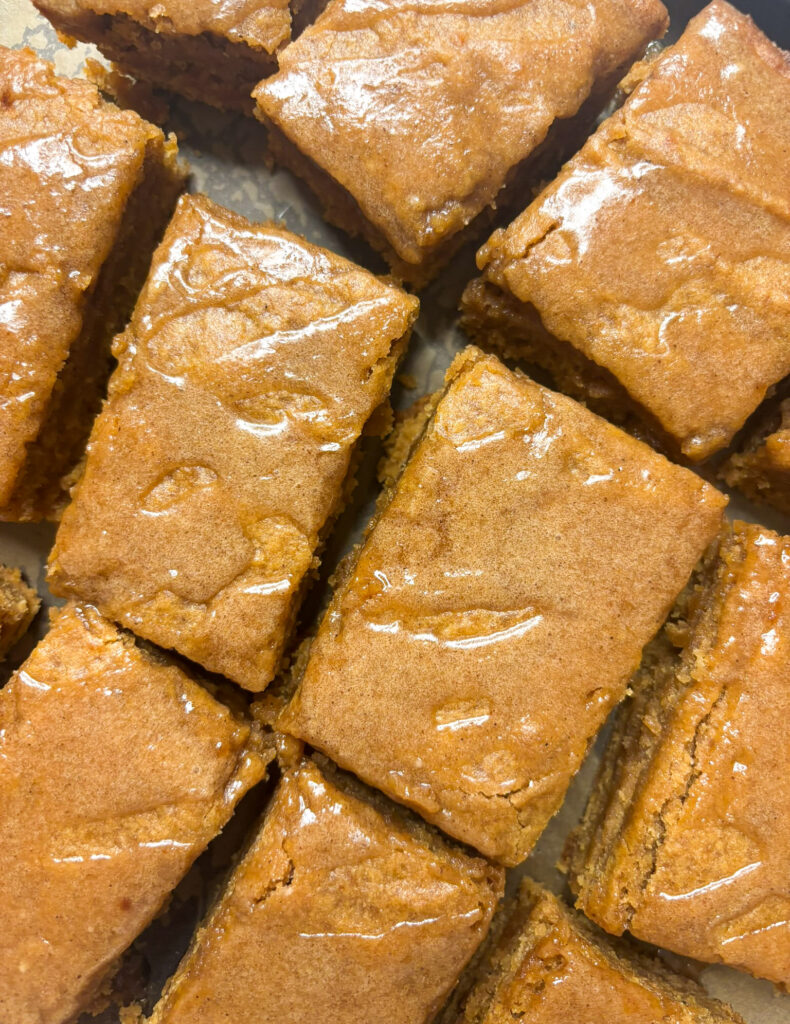
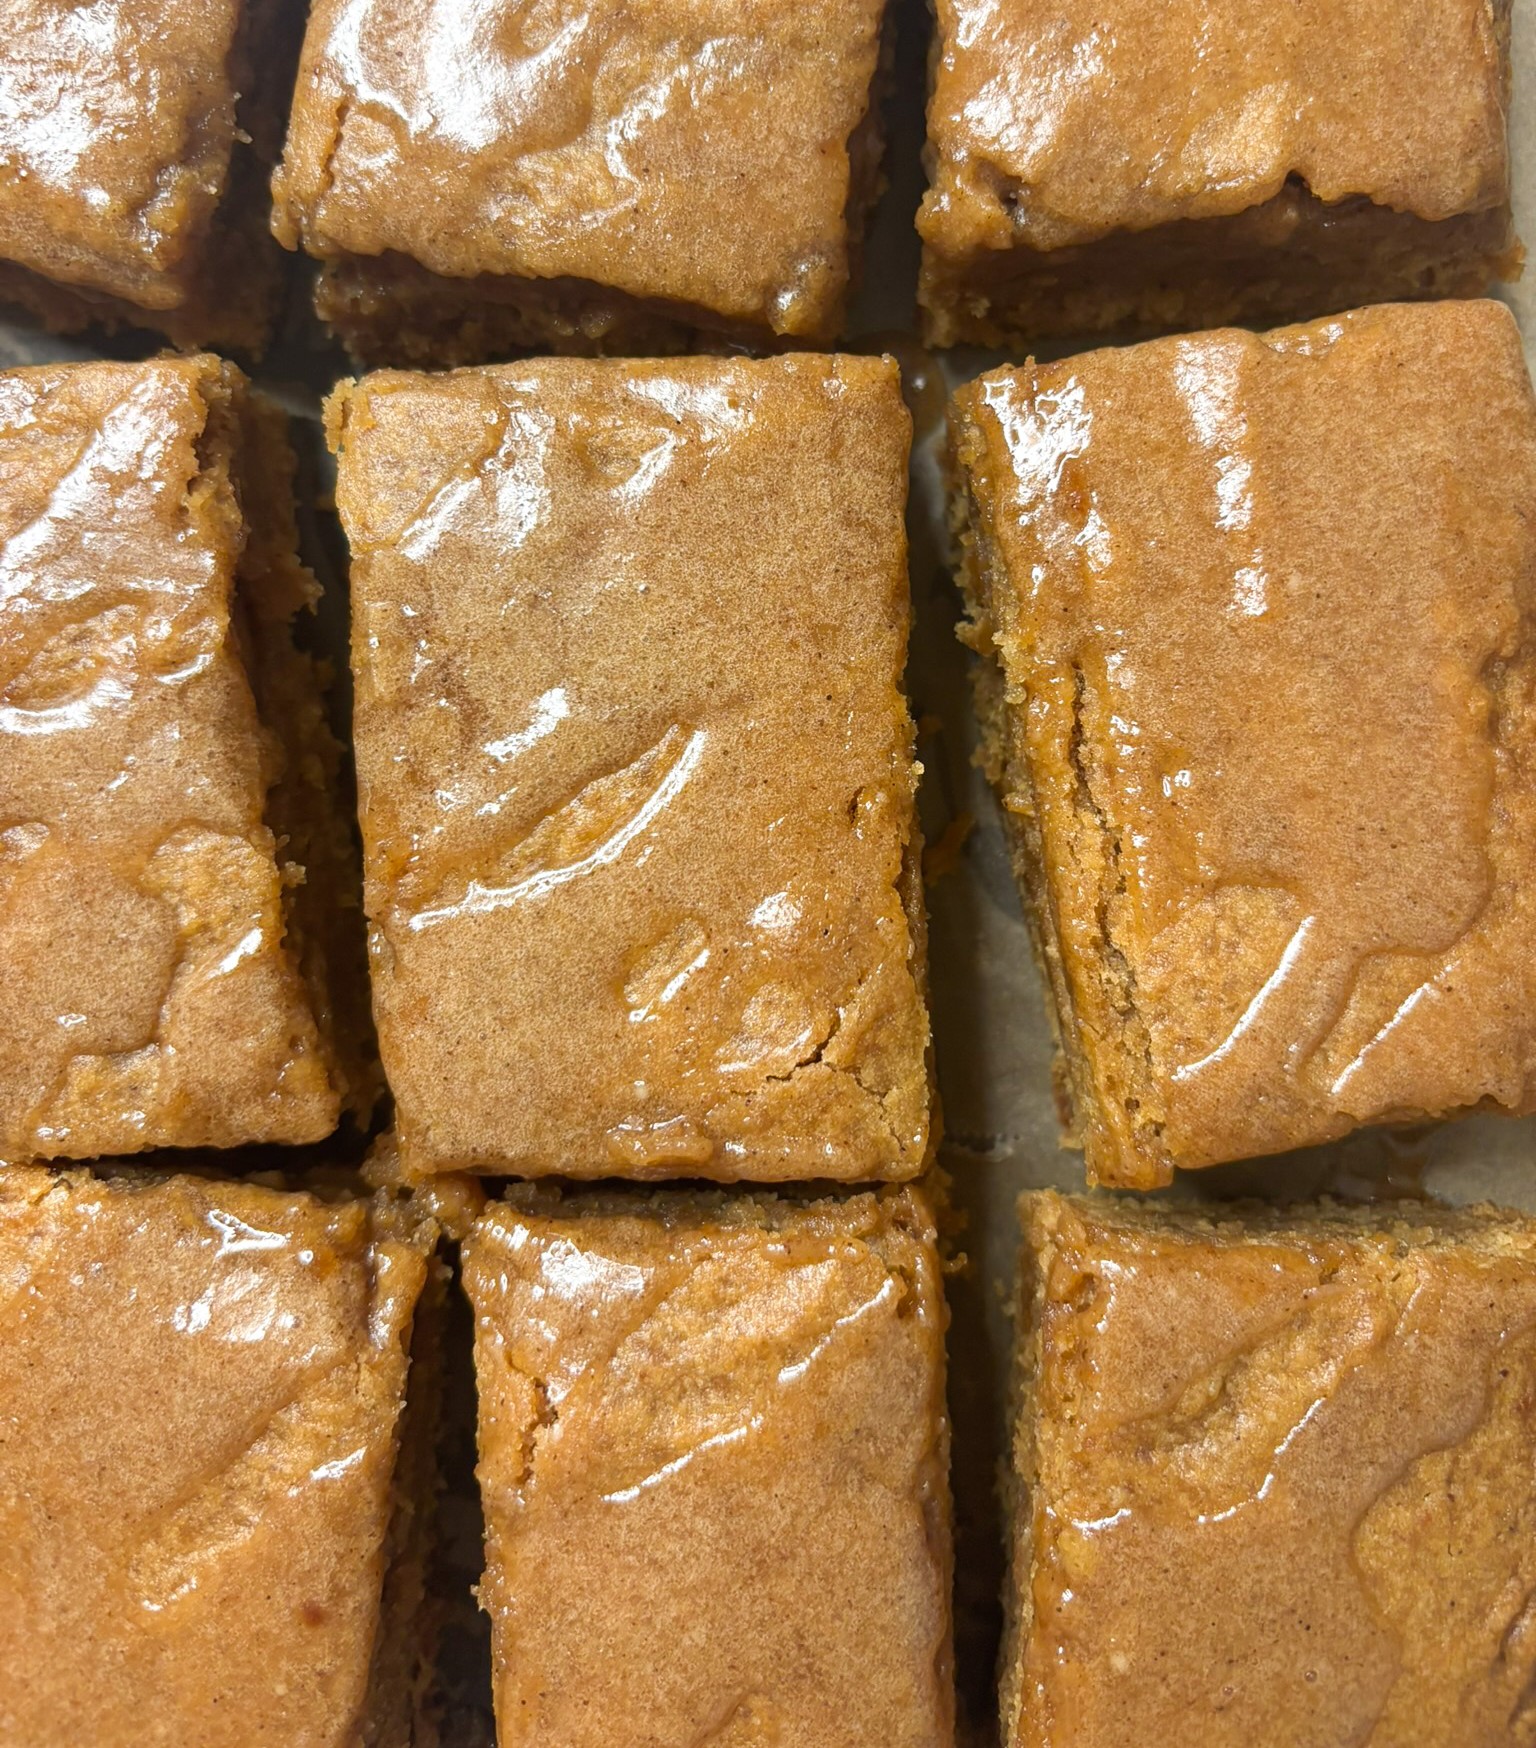
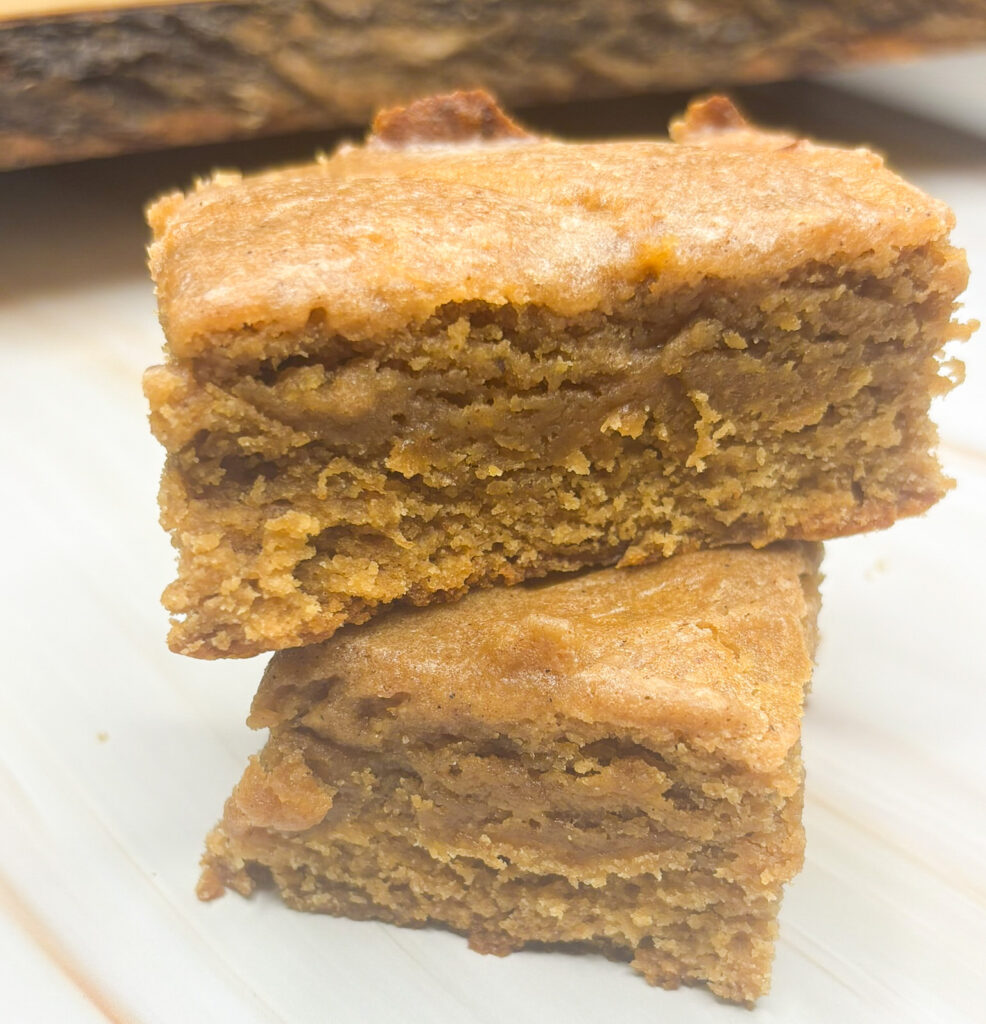
These are like, stupid good. By far one of my favorite desserts I’ve ever made, and I make a LOT of desserts. They’re chewy and soft like every dessert bar should be, with so much rich flavor from the browned butter and apple butter.
Browned butter can seem really intimidating to make, but I promise it’s a lot easier than it looks. It just requires a little patience. And it’s so, so worth it. Browned butter takes on a nutty and toasted flavor and has a deep, intense flavor.
The warm spiced flavors of these Browned Butter Apple Blondies makes them the perfect cold weather dessert. If you’re feeling generous, they would be a great addition to a holiday dessert table. But you probably won’t want to share.
The recipe card below contains two versions of this amazing dessert; one with a spiced apple topping included for extra apple flavor, and one without. Personally, I prefer the version without because I find leaving out the spiced apples really lets the brown butter shine.
Table of Contents
- Quick Recipe Overview and Top Tips for Success
- Equipment You'll Need For This Recipe
- Ingredients You'll Need For This Recipe
- How to Make Browned Butter Apple Blondies
- Substitution Ideas and Variations
- Recipe FAQs
- More Dessert Recipes You Might Like
- Recipe Card
- Let me know what you think – leave a comment/rating
- Follow me on Social Media
Quick Recipe Overview and Top Tips for Success
Tips for the best browned butter apple blondies:
- The most important thing in this recipe is to slowly brown the butter over very low heat (detailed instructions are below). The browned butter is what really takes this recipe to the next level
- Don’t skip the glaze! It’s so quick to put together in one bowl while the bars bake and makes the best finishing touch for these bars
Flavors: These bars are full of an amazing combination of rich, warm flavors. The browned butter, warm spices and apple butter go so well together and the glaze makes for the perfect touch.
Difficulty: Medium; the batter for this recipe is really easy to make. But, since browning butter does take some patience and care, I consider the difficulty of this recipe as medium.
Time: Browning butter takes time because it can burn easily. Once that step is out of the way, the rest of this recipe flows quickly because the batter comes together quickly and the glaze is super easy to make. Plus, you can get a lot done while you wait for the butter to be ready.
Equipment You’ll Need For This Recipe
Here’s a quick list of necessary or helpful tools you’ll need for these Browned Butter Apples Blondies:
- Large sauté pan: for browning the butter.
- 9×9 inch square baking dish
- Parchment paper: you can just grease the baking dish too, but parchment paper makes removing the bars easier.
- Mixing bowls: you’ll need two mixing bowls for this recipe; one for the dry ingredients, and one for the wet ingredients (or 3 if you’re making the Spiced Apple Topping).
- Whisk
- Silicone spatula: for getting every last bit of the batter from the mixing bowl.
- Medium saucepan: for the Spiced Apple Topping.
Ingredients You’ll Need For This Recipe
Here’s everything you need to make these Browned Butter Apple Blondies, including the blondie batter, cinnamon vanilla glaze and spiced apple topping:
For the Apple Butter Blondies:
- Unsalted butter: for the browned butter.
- All purpose flour
- Baking powder
- Cornstarch: to keep the bars perfectly chewy.
- Cinnamon and nutmeg: to complement the apple flavors.
- Salt
- Large eggs
- Dark brown sugar: light brown sugar is fine too.
- Apple butter: a rich spread made by cooking apples until the liquid reduces and the sugars caramelize. Find my recipe for Homemade Apple Butter here.
- Vanilla extract
For the Browned Butter Cinnamon Vanilla Glaze:
- Browned butter: reserved after browning the butter for the batter.
- Icing sugar
- Cinnamon
- Vanilla
- Apple butter: for extra apple flavor.
- Salt
- Milk
For the Spiced Apples:
- Apples: I use Honeycrisp apples because they hold their shape well when baked, but any kind works great.
- Unsalted butter
- Dark brown sugar: again, light brown sugar works too.
- Cinnamon
How to Make Browned Butter Apple Blondies
The recipe for these bars start off slow because we start by browning the butter, which isn’t exactly a quick process (but so worth the final result). Nothing beats the nutty, toasted flavor the brown butter brings. And it’s much easier than you think! By the end of this recipe, you’ll be an expert at browning butter to add to your own recipes.
To start, get all your ingredients together. You don’t need to preheat your oven just yet because it’s going to be a little while before the bars are ready to bake, so you don’t need to use it to heat your house that whole time. Grease your 9×9 inch square baking dish with butter or neutral oil or line it with parchment paper. I prefer to just line it with a square of parchment paper that overhangs on one side. Once the bars are cooled, this makes it really easy to slide them out of the dish.
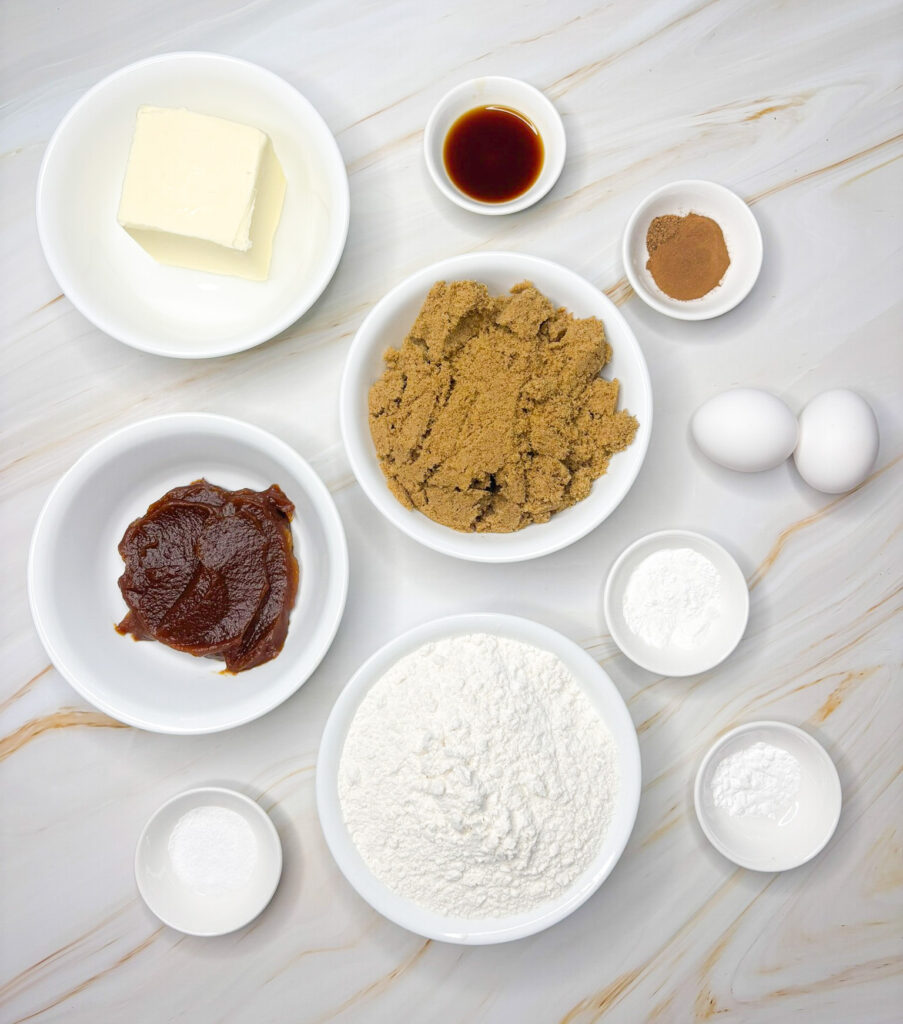
Here’s how to make these Browned Butter Apple Blondies with Homemade Apple Butter:
Brown the Butter
Browning butter is essentially just toasting butter until most of the water in the butter evaporates and the milk solids (the little brown bits in the bottom of the pan) darken and caramelize. When browning butter, you will lose some of the butter you start with as the water evaporates and the butter reduces. 1 cup of butter will typically give you about ¾ cup, or just over, of browned butter. For this recipe, you want ¾ cup of browned butter for the batter, so we start with 1 cup of butter and melt that over very low heat.
To perfectly brown butter, start by cutting the butter into equal sized pieces to ensure it melts smoothly. It’s going to bubble a little as it starts to heat up, which is exactly what you want! Just be patient, those bubbles will disappear as the butter heats up and starts to toast.
I prefer to brown butter on the lowest heat setting on my stove and let it slowly toast for 15-20 minutes. You can increase the heat a little to speed up this process and brown the butter in under 10 minutes, but if you do that, you need to be stirring the butter constantly. Not only will the butter get too dark and burn, but the milk solids will get stuck to the bottom of the pan and burn as well, ruining your browned butter.
Doing it my way takes a little bit longer, but you don’t have to stand next to the pan the entire time and you can get started with the rest of the recipe steps.
Whisk the Brown Butter
Once the butter has fully melted, whisk it; this helps ensure the milk solids will not form in large pieces and there are no large bubbles in the butter.
Then, you can step away and let the butter slowly toast. You just need to stir it or swirl the pan every couple of minutes, and keep a close eye on those milk solids. If you see them starting to stick to the bottom of the pan, use a whisk or wooden spoon to scrape them off the bottom and swirl them back into the liquid butter. You’ll see that your butter slowly starts to darken. As it cooks, it will start to smell toasted and nutty.
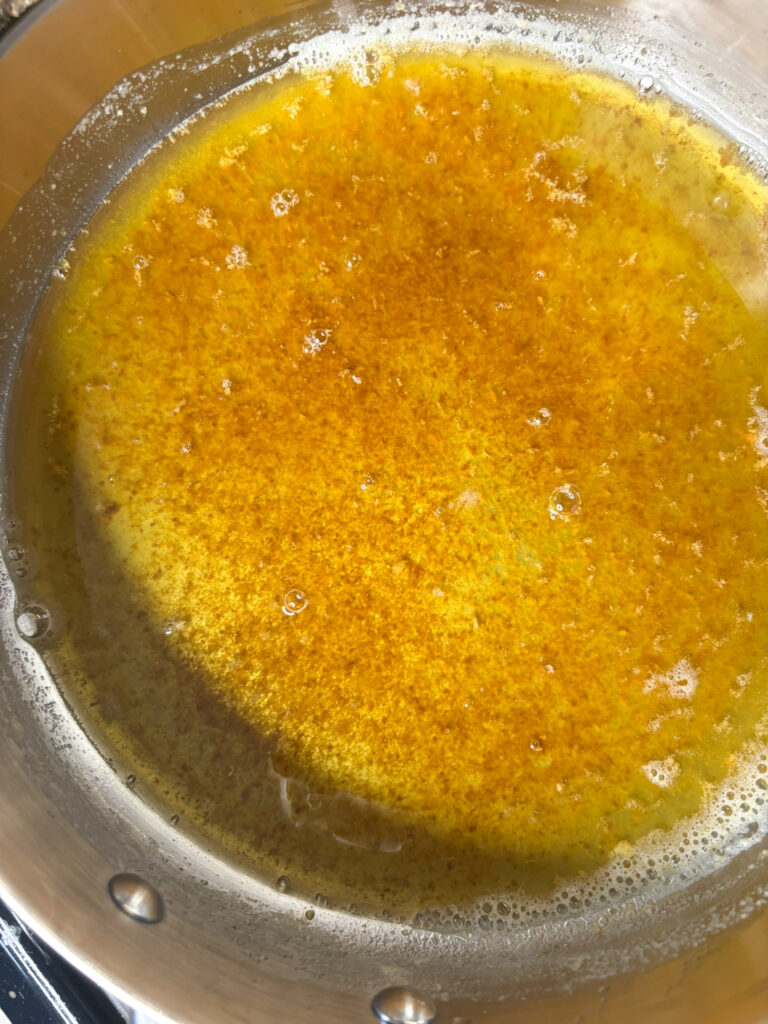
The butter is fully browned when it’s a deep, dark golden color, when the milk solids have separated and turned a little bit darker than the liquid butter, and when it has a distinct nutty smell. Trust me, you’ll be able to tell when it’s done because of that amazing, toasted aroma.
Make the Spiced Apple Topping
If you’re making the version of this recipe that includes the Spiced Apple Topping, you’re going to make those next and while the butter browns. If you’re leaving them out, just skip this section altogether!
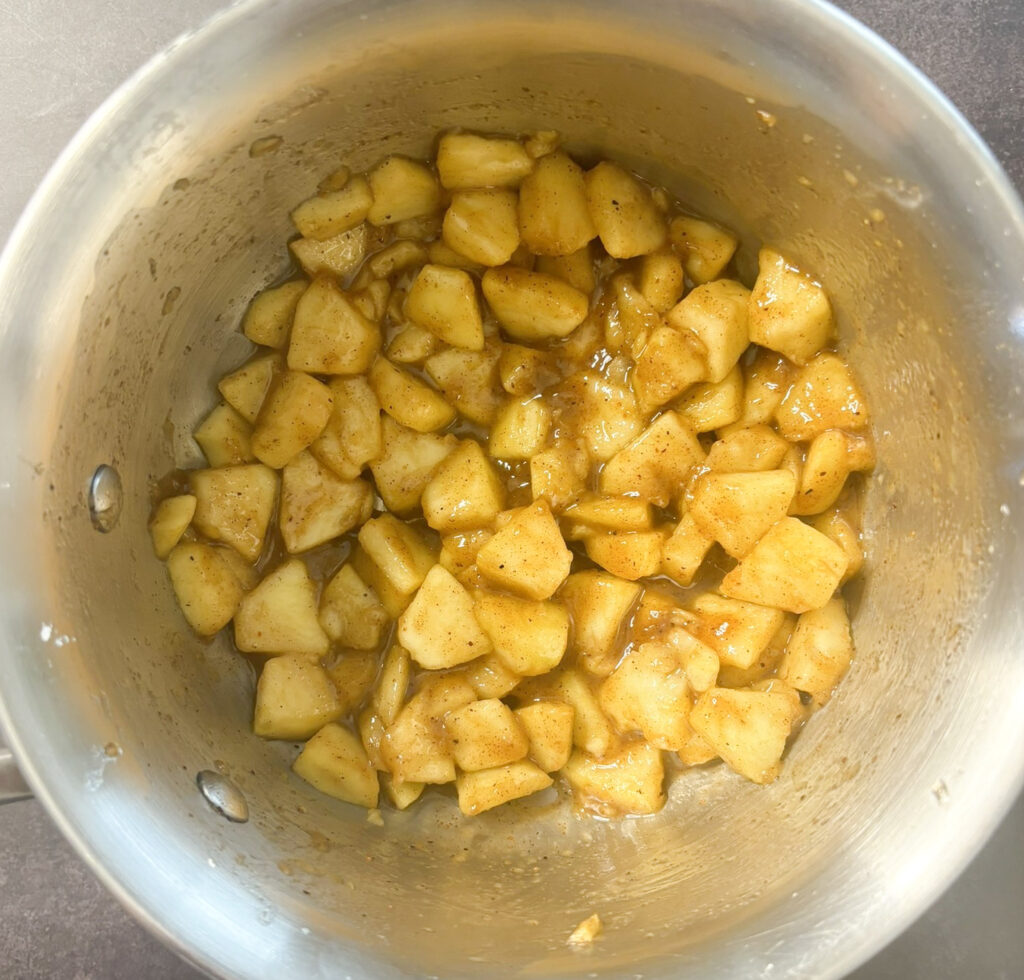
Start by peeling and dicing two medium apples. I used Honey Crisp apples, but any kind you have on hand will work. In a medium bowl, combine the diced apples with ½ cup of packed brown sugar and ¾ teaspoon of cinnamon.
Next, melt the tablespoon of butter in a medium saucepan over medium-low heat. Once the butter is melted, add the apple mixture and stir. Cook the apples over medium-low heat, stirring every few minutes, for about 10 minutes or until they’re beginning to soften. You don’t need to cook them until they’re completely softened because they’ll continue to cook while the bars are baking. Once they’re done, set them aside to cool while you assemble your batter.
Mix your Dry and Wet Ingredients
Remember how I told you that you don’t need to preheat your oven right away? Go ahead and preheat it to 325℉/170℃ now.
Once you’ve got the time consuming step of browning butter out of the way, it’s time to combine your dry and wet ingredients.
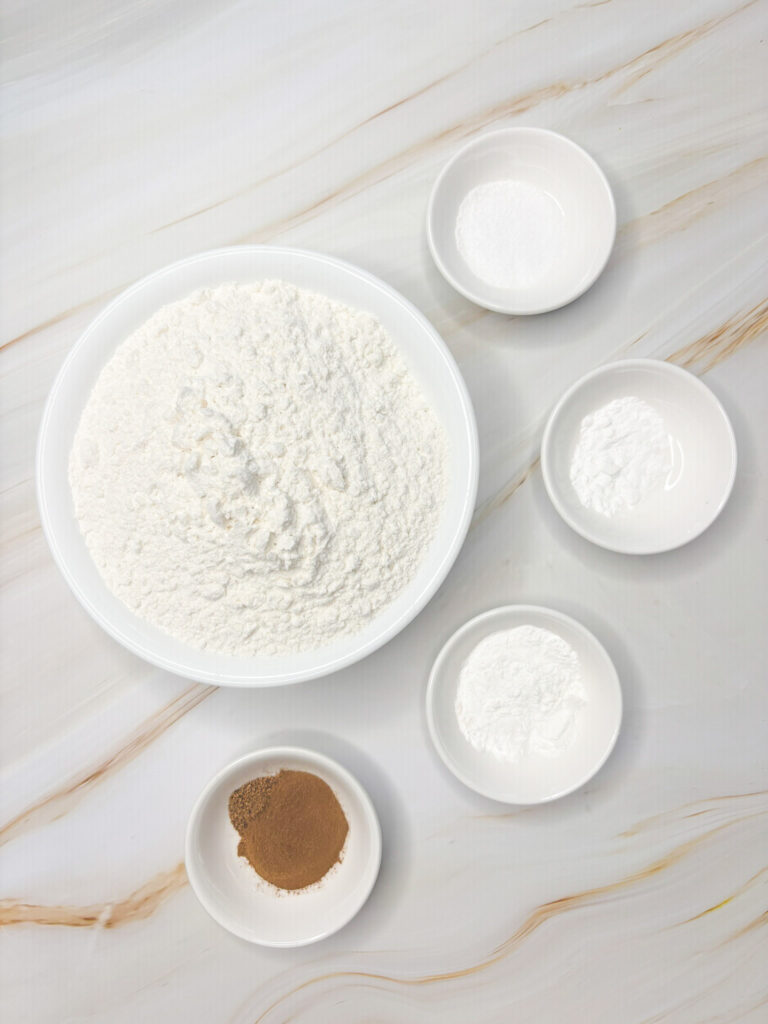
You’ll need two mixing bowls. In one, add the 2 ¼ cups of flour, the ½ teaspoon of baking powder, the 2 teaspoons of cornstarch, the teaspoon of cinnamon, the ¼ teaspoon of nutmeg and the ½ teaspoon of salt and whisk until combined.
This recipe doesn’t use much baking powder because we want these bars to stay nice and flat instead of rising. As for the cornstarch, it helps give the bars their amazing chewy texture.
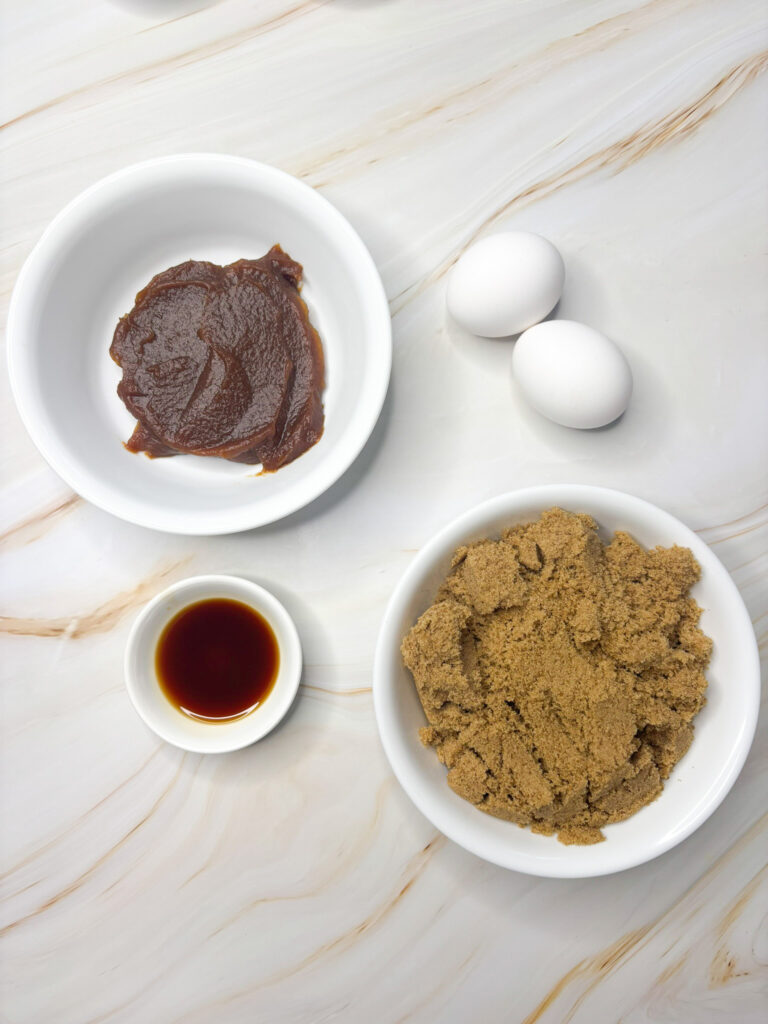
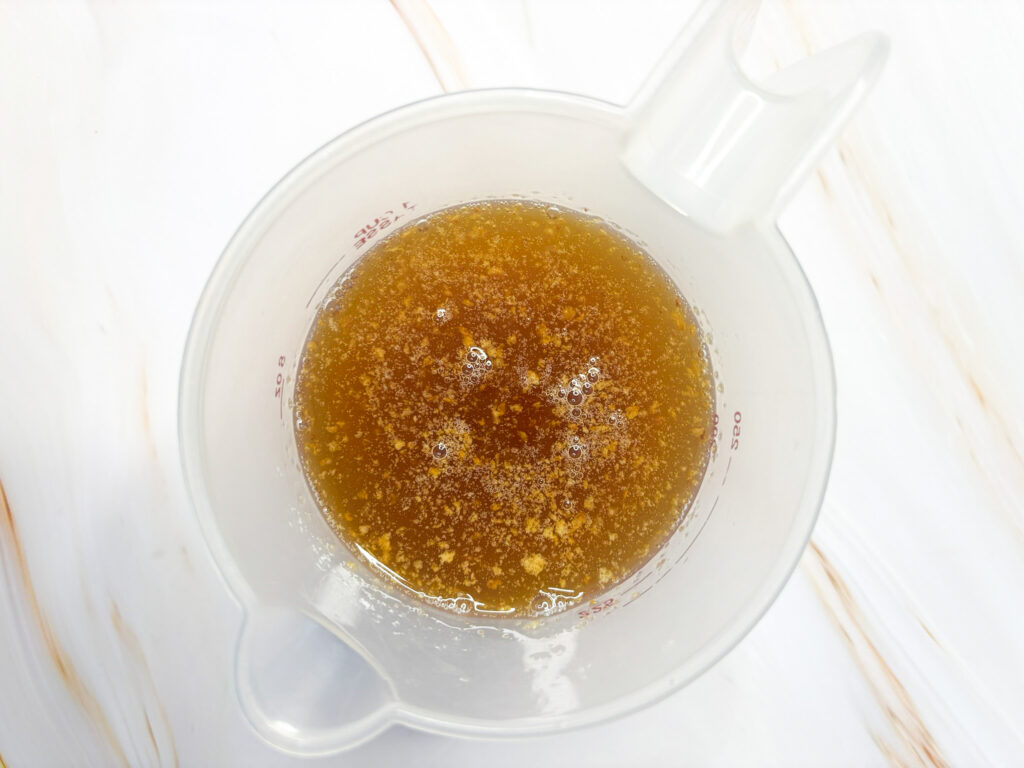
Set your dry ingredients aside for now and combine your wet ingredients in the second bowl. Add the 2 eggs, 1 ½ cups of dark brown sugar (make sure it’s tightly packed), the ½ cup of apple butter, the 2 teaspoons of vanilla extract and the ¾ cup of cooled brown butter. Make sure you get ALL of those milk solids in the brown butter because they make up a lot of that rich flavor.
It’s best if your eggs are room temperature, so there’s no risk of them starting to cook when they’re mixed with the slightly warm browned butter. If you forgot to take them out in advance, don’t worry; either just leave them in warm (not hot) water for 5 minutes, or make sure your browned butter is well cooled. You can also whisk together everything except the brown butter, then add it last and mix again. This way, you’ll be bringing up the temperature of the eggs as they mix with the other ingredients and adding the butter to an overall warmer mixture.
Make the Batter
Now, we make the batter. Combine your wet ingredients with your dry ingredients in either bowl. I usually prefer to add the dry ingredients to the bowl with the wet ingredients when baking because this makes scraping the sides of the bowl much easier and avoids little pockets of flour getting stuck on the bottom of the bowl, but adding the wet ingredients to the dry ingredients is also completely fine.
Mix that together using a spatula or wooden spoon. You don’t want to overmix here, so stop mixing as soon as you can no longer see flour.
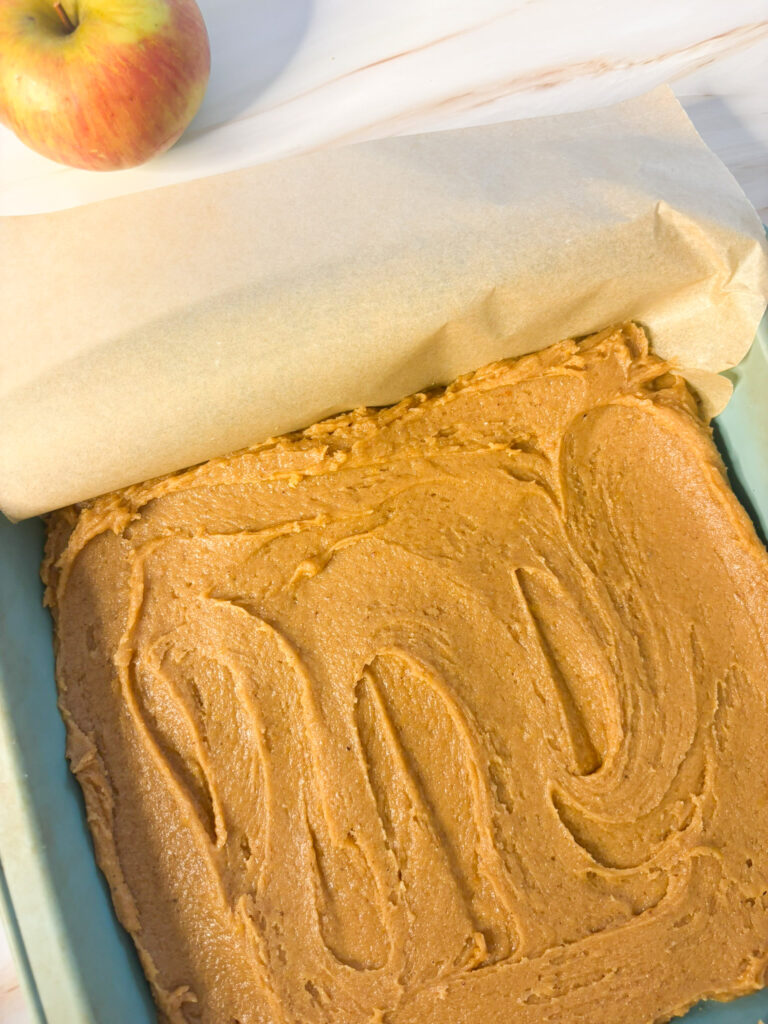
Spread that batter out evenly in your baking dish. If you made the Spiced Apple Topping, spoon those all over the top of the batter as well. The batter will be fairly thick, almost like a cookie dough, so the apples won’t sink in.
Transfer the baking dish to the oven and bake at 325℉/170℃ for 40-45 minutes (if you’re using a silicone baking dish like I do, always place it on a baking sheet before it goes in the oven). Depending on your oven, they may take a little more or less time to cook. Check on them with a toothpick after about 40 minutes. If it comes out clean, they’re done.
Make the Cinnamon Vanilla Browned Butter Glaze
While the bars are baking, whip up the easiest Cinnamon Browned Butter Glaze.
It’s so easy and really a must for these bars because it adds even more rich browned butter flavor.
In a bowl, combine the reserved brown butter (at least 1 tablespoon), the ⅓ cup of icing sugar, the ¼ teaspoon of cinnamon, the teaspoon of vanilla extract, the teaspoon of apple butter and the pinch of salt and mix. It’s going to be very thick because we haven’t added the milk yet. Depending how much brown butter you had to spare, you might need more or less milk. Add the milk, 1 tablespoon at a time, until the glaze is a pourable consistency. You don’t want it to be too thin, so stop adding milk as soon as you would be able to pour it over the bars.
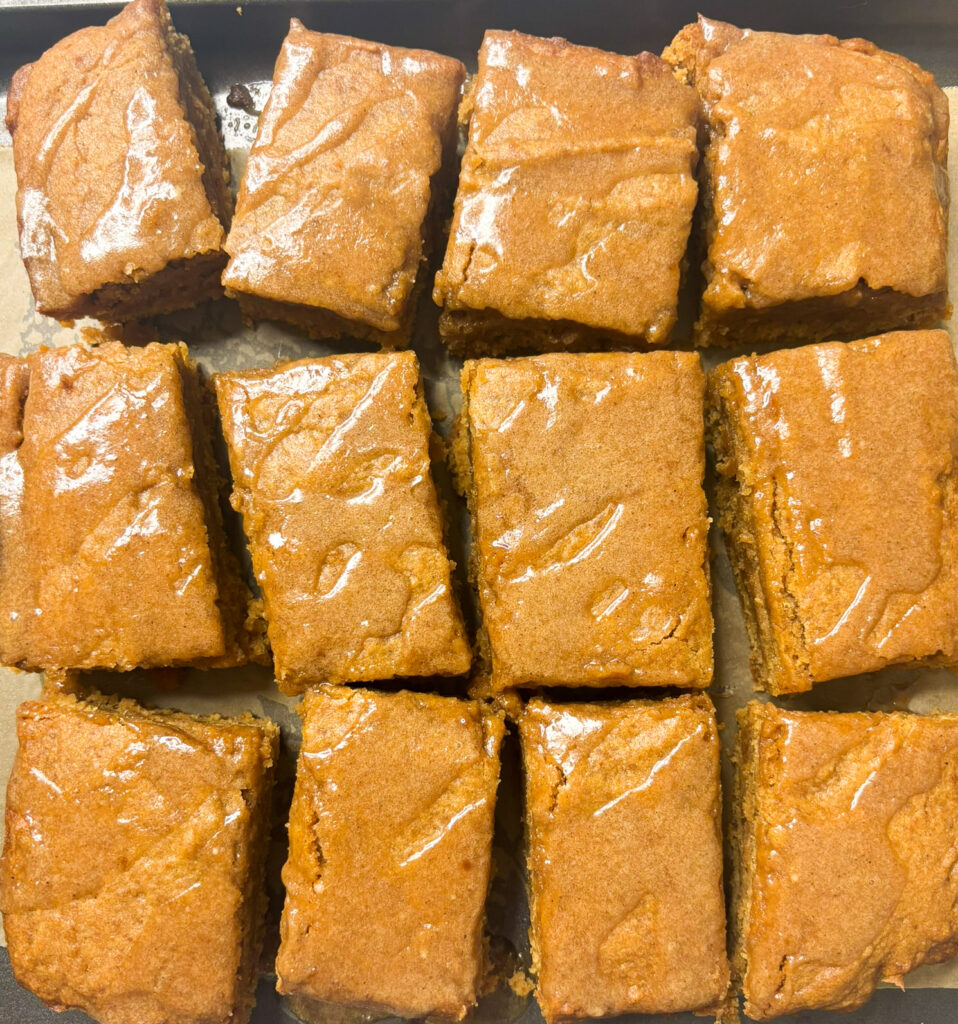
Once the bars have been out of the oven for about 15-20 minutes and have cooled a little, pour that glaze all over. I know at this point you’ve waited so long that you just want to cut into these right away, but give it just a couple minutes more so that glaze hardens. Once it does, cut them into 12 squares and devour.
Substitution Ideas and Variations
Substitutions
If you don’t have some of the ingredients for this recipe on hand or just don’t like them, here are a few substitution ideas. All substitutions are in equal quantities, or a 1:1 ratio, unless specified:
For the Apple Butter Blondies:
- All purpose flour: use gluten free flour if needed. Some gluten free flours can dry out baked goods. If your blondie batter is too thick or feels dry (see photos or video), add an extra egg.
- Nutmeg: ground allspice or ground ginger.
- Large eggs: use ¼ cup of unsweetened applesauce for each egg, or a flax egg (mix 1 tbsp of ground flaxseed with 3 tbsp water for each egg)
- Brown sugar: granulated sugar or coconut sugar.
- Apple butter: sweetened applesauce. Try to use apple butter if possible, but if you really can’t find it or make it, you can use sweetened applesauce. The taste will change slightly because apple butter is much richer. Don’t use unsweetened applesauce.
For the Browned Butter Cinnamon Vanilla Glaze:
- Milk: any non-dairy milk of choice.
Variations
- Add some extra crunch: mix in some chopped pecans or walnuts.
- Add spiced apples: the detailed recipe includes instructions for two versions of these blondies: one with a spiced apple topping, and one without.
Recipe FAQs
What’s the secret to the best browned butter apple blondies?
The browned butter, for sure; it adds an incredible flavor to these bars.
Do I need to include the glaze in this recipe?
You technically can skip the glaze with this recipe, but I don’t recommend it. It’s the perfect final touch for these bars.
Can I substitute any of the ingredients in this recipe?
If you really, really don’t feel like browning butter (but you definitely should), you can substitute the browned butter with regular melted butter. Since the brown butter reduced as it cooked and we only added ¾ cup to the batter, you’ll want to reduce the amount of regular butter to ¾ cup of melted butter as well.
It seems like apple butter can occasionally be tricky to find. If that’s the case, you can substitute it for sweetened applesauce, but it will change the flavor slightly as apple butter is richer and sweeter. Make sure you don’t use unsweetened applesauce for this recipe.
For more suggestions, check the Substitutions section above.
Can I add other ingredients to this recipe?
Since the Spiced Apple Topping is already optional, I don’t recommend adding too much else to this recipe to ensure the bars rise correctly and they keep their signature chewy texture.
For more suggestions, check the Variations section above.
Can I make these bars gluten free?
To make the bars gluten free, substitute the all purpose flour for 1:1 gluten free flour. Some gluten free flours can dry out baked goods despite being labeled 1:1. If your blondie batter is too thick or feels dry (see photos or video), add an extra egg.
Can I use a different size of baking dish?
Yes you can. A 9×13 inch baking dish would also work just fine, and will give you about 16 slightly thinner pieces. You will need to reduce the baking time to 30-35 minutes if you’re using a larger dish. Check on the bars when they’ve been baking for 25 minutes by inserting a toothpick in the center and keep a close eye on them.
Can I freeze these blondies?
This recipe can be frozen either before being cut into squares, or as individual pieces. If you plan to freeze these bars, don’t add the glaze. When you’re ready to eat the bars, make the glaze and pour it over. Because there’s butter and milk in the glaze, its texture will change when frozen.
How do I store these blondies?
Store in the refrigerator in a sealed container or in the baking dish covered in plastic wrap or foil and eat within 5 days. If you plan to finish the bars within 1 or 2 days, you can also store them covered on the counter.
More Dessert Recipes You Might Like
If you loved these Browned Butter Apple Blondies, here are some more dessert recipes you might want to try:
- Layered Pumpkin Spice Cheesecake Brownies
- Easy Ube Cookies
- Orange Ricotta Cookies
- Glazed Chocolate Maraschino Cherry Cake
Recipe Card
Browned Butter Apple Blondies with Homemade Apple Butter
Equipment
- 1 9×9 inch square baking dish, silicone, glass or metal
- 1 whisk
- 1 spatula, silicone or wooden
- 1 mixing bowl optional (for the Spiced Apple Topping)
- 1 medium saucepan optional (for the Spiced Apple Topping)
Ingredients
- 1 cup unsalted butter (see Note 1)
- 2 ¼ cups all purpose flour
- ½ tsp baking powder
- 2 tsp cornstarch
- 1 tsp cinnamon
- ¼ tsp nutmeg, dried or freshly grated
- ½ tsp salt
- 2 large eggs room temperature (see Note 2)
- 1 ½ cups dark brown sugar, packed
- ½ cup apple butter, homemade or store-bought (see Note 3)
- 2 tsp vanilla extract
Cinnamon Vanilla Glaze
- 1 tbsp reserved browned butter
- ⅓ cup icing sugar
- ¼ tsp cinnamon
- 1 tsp vanilla extract
- 1 tsp apple butter, optional
- Pinch salt
- 1-2 tbsp milk (see Note 4)
Spiced Apples (Optional)
- 2 apples, peeled, cored and diced
- 1 tbsp unsalted butter
- ½ cup brown sugar, packed
- ¾ tsp cinnamon
Instructions
Spiced Apples
- If you're including the spiced apple topping, make it first (or while your butter browns), then set it aside while you make your browned butter and the batter; if you're skipping the apple topping, skip this section and proceed with the steps below
- In a medium bowl, combine the peeled and diced apples, brown sugar and cinnamon
- Melt the butter in a medium saucepan over medium-low heat then add the apples
- Cook the apples over medium-low heat, stirring occasionally, for about 10 minutes or until they are beginning to soften then set them aside to cool
Browned Apple Butter Batter
- In a large saucepan over low heat, melt the butter; whisk the butter when it has fully melted (make sure the heat is cranked almost all the way down to the lowest setting)
- Allow the butter to toast slowly over low heat, about 15-20 minutes, until it's a dark, golden brown color and you can see visible milk solids in the butter; whisk or swirl the pan occasionally to ensure no milk solids get stuck (see Note 5)
- Set the browned butter aside for at least 10 minutes to cool and reserve around 1 tbsp for the glaze; the butter will have reduced to just over ¾ cup after browning so any amount above the ¾ cup line on a measuring cup can be reserved for the glaze
- Gather the rest of your equipment and ingredients and preheat your oven to 325℉/170℃; line a 9×9 inch square baking dish with parchment paper that overhangs on one side to make removing the bars easier
- In a medium bowl, whisk together the flour, baking powder, cornstarch, cinnamon, nutmeg and salt and set aside
- In another large bowl, whisk together the eggs, brown sugar, apple butter and vanilla extract until smooth; add in the cooled brown butter and whisk again until combined (see Note 3)
- Add the dry ingredients to the wet ingredients and mix with a spatula until just combined, but do not overmix (stop mixing as soon as you can no longer see flour)
- Transfer the batter to the prepared baking dish and spread evenly; if using the Spiced Apple Topping, spread them evenly on top of the batter
- Bake for 40-45 minutes or until a toothpick inserted in the center comes out clean
Cinnamon Vanilla Glaze
- While the bars are in the oven, make the glaze: in a small bowl, whisk together the reserved brown butter, icing sugar, cinnamon, vanilla extract, apple butter and salt; the mixture will be very thick
- Add the milk, one tablespoon at a time, until a pourable consistency is reached
- Once the bars have fully cooled, drizzle them with the glaze; allow the glaze to harden for 2-3 minutes then cut into squares and serve
Notes
Nutrition
Let me know what you think – leave a comment/rating
If you made this recipe, I’d love to hear from you! Please consider leaving a review or comment below. Any feedback is appreciated.
Follow me on Social Media
For more recipes, or to see all my recipe videos, follow me on Instagram, Facebook, TikTok and Youtube.
